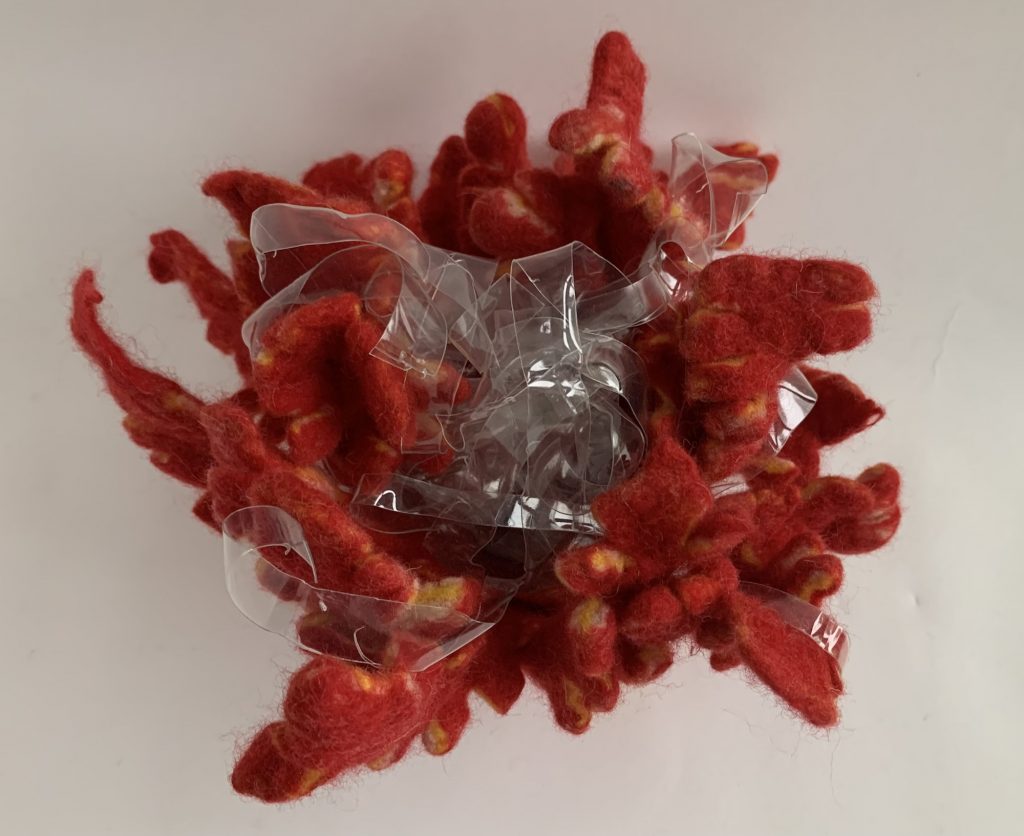
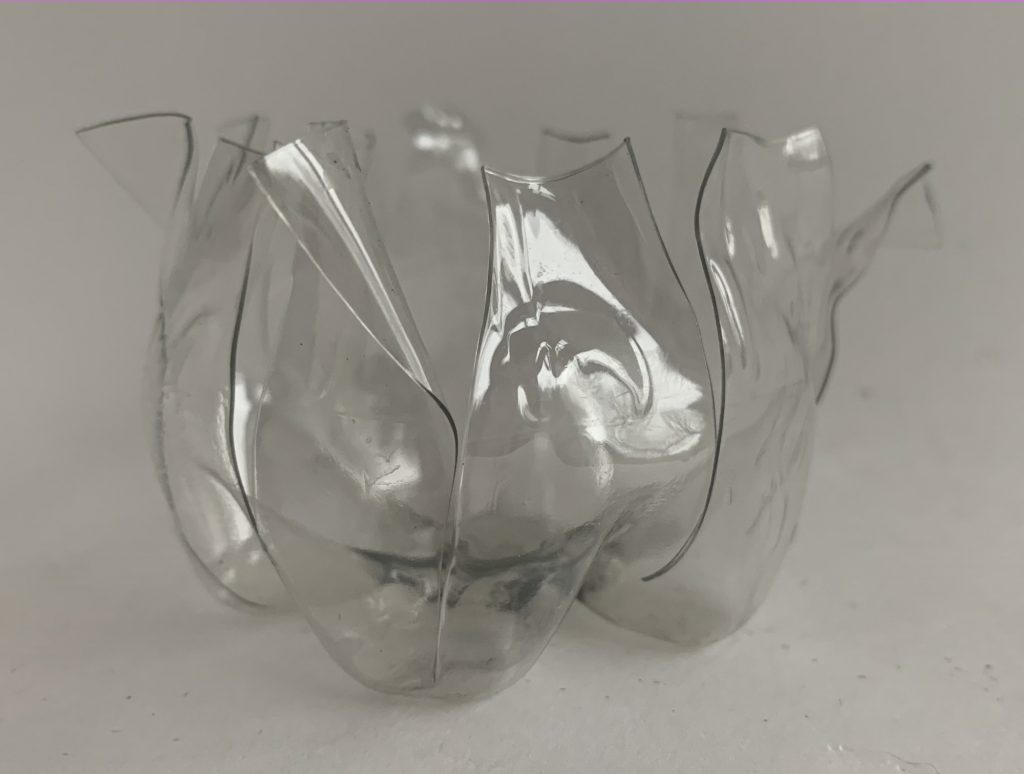
Before we begin….I really hope you and your loved ones are safe and well, but if you are grieving for a loved one who lost their battle with Covid19, I am truly sorry for your loss, I can’t begin to imagine the pain of losing a loved one when you cannot be there to comfort them. Please don’t think for a moment that in this post I am comparing the anxiety many people are feeling and my own journey through this crisis in any way to the combination of grief and anxiety you are experiencing. My heart goes out to you.
Overwhelmed and impotent
We are just over 3 weeks into lockdown (in the UK) and the days have long since become indistinguishable from each other, some days drifting laboriously on, while for others (if I avoid the news) I can convince myself I am holiday and happily while away the day reading and pottering in the garden. I have lost all sense of time, what day of the week is this? Or what month!? Are you feeling the same?
Social media seems to be full of people enthusiastically telling us we need to use this time productively but, quite frankly, a lot of people, myself included, are just too exhausted from anxiety and worry to…. overhaul my website / clean the house from top to bottom / landscape the garden / make all my stock for Christmas *
*insert that overwhelming project that glares accusingly at you from your to-do list.
I know most of these people mean well but their posts really only serve to make me feel even more inadequate and impotent than this crisis already has. If this resonates with you, try to ignore them, mentally file these posts with the fake news and scam posts, they really aren’t worth your attention or energy.
I realised early on that my creative mojo was burrowing further and further into hiding the more my anxiety increased; the more anxious I felt (for myself, my loved ones and friends still working on the frontline), the harder it was to find that creative spark we all rely on. It took me a few days to realise this but just by limiting my access to the news to once a day and only grocery shopping once every 3 weeks I can (mostly) control my anxiety. Have you found a coping strategy? Did you lose your creative mojo too?
To begin with I couldn’t even face the prospect of starting a felt project, all the ideas usually overcrowding my tiny brain had flown away. So I set myself some quite mindless tasks, more to keep busy and distracted than with a goal in mind.
- Tidying and organising the “wool room” (don’t be fooled by the name, like you, I have wool and other fibres stashed in EVERY room, but this room has almost nothing but wool and felting kit in it)
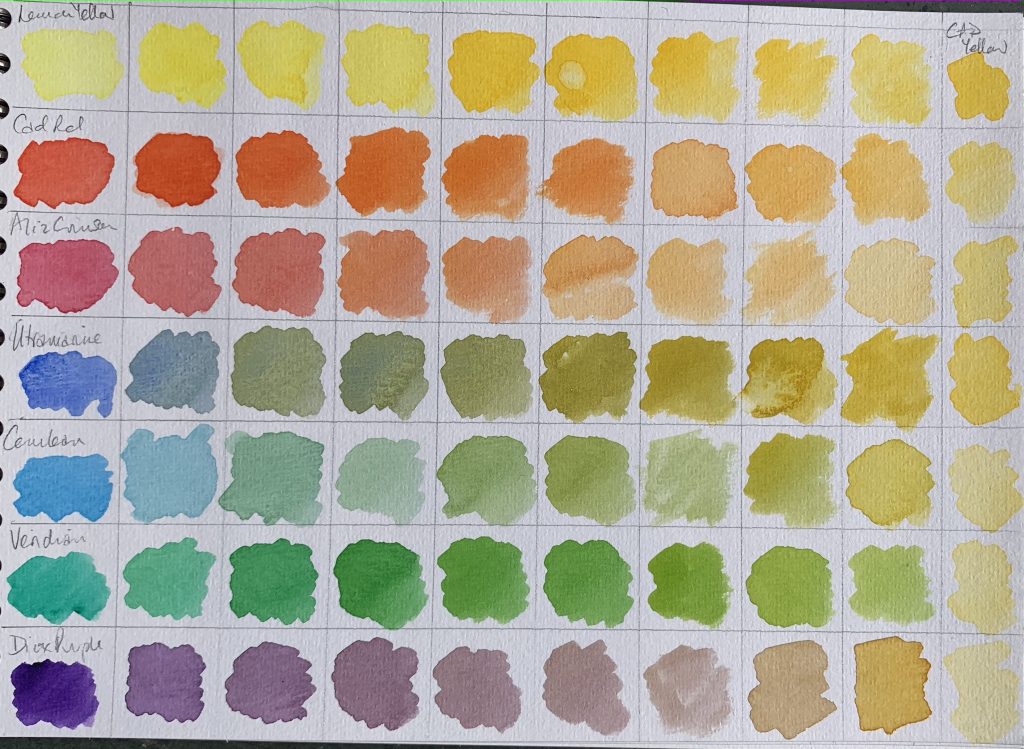
- Painting colour charts for my watercolour paints (something I have wanted to do for a long time but never found time for)
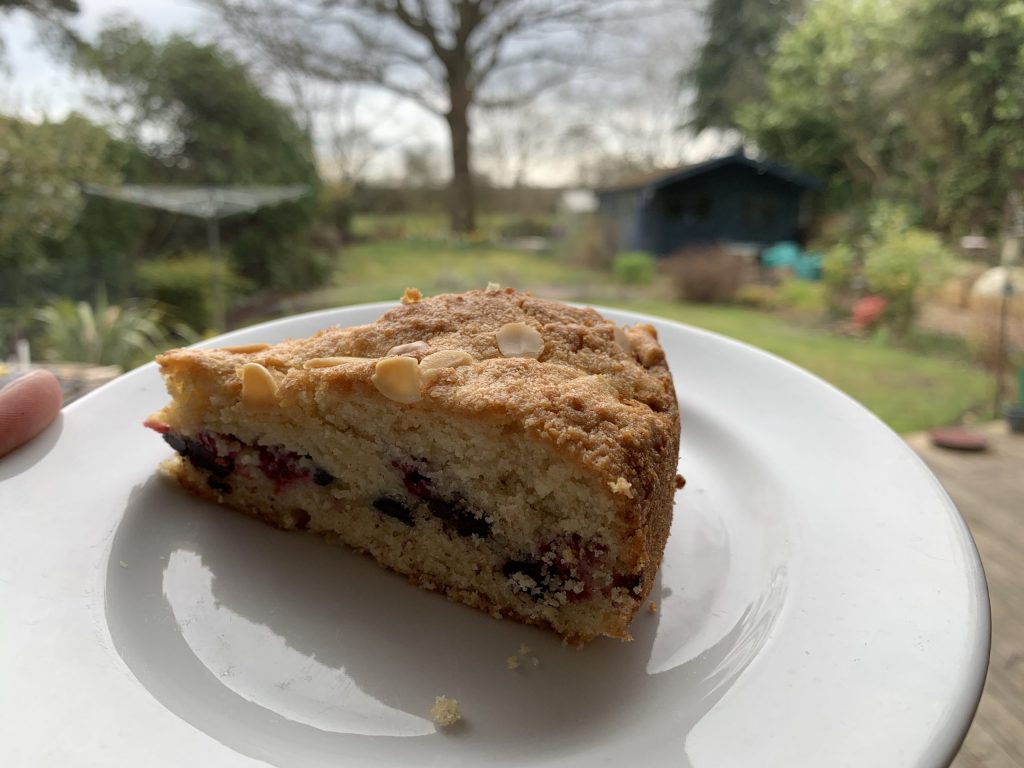
- Baking (if this keeps up, I will be too wide to fit through my front door by the time we are allowed out again)
Then Fiona Duthie threw down a felting gauntlet…..
Those of you that have taken one of Fiona Duthie’s online classes will know about her “alumni” Facebook page, on there she posted a “coronavirus challenge” on the theme, “Separate Yet Connected”.
I have taken part in one of Fiona’s previous challenges (you can see the publication here) and really enjoyed it, especially reading about how everyone else had interpreted the same theme in such varied ways.
But I was filled with nagging doubts, could I come up with an idea and be inspired enough to see it through? I really wasn’t sure. I went back to baking…. and comfort eating…..
A little known piece of personal history for you… I studied coronaviruses for my PhD. It was a long time ago (early 2000’s) but I still feel personally connected to this virus despite the havoc and devastation it is inflicting on us all. This connection and a desire to turn the fear and anxiety into something positive, or at least constructive, kept bringing my thoughts back to Fiona’s challenge but what could I make?
The name corona-virus, comes from a very fuzzy electron micrograph image of crystalised coronavirus particles that show a crown (corona) of spike proteins protruding from the virus envelope.
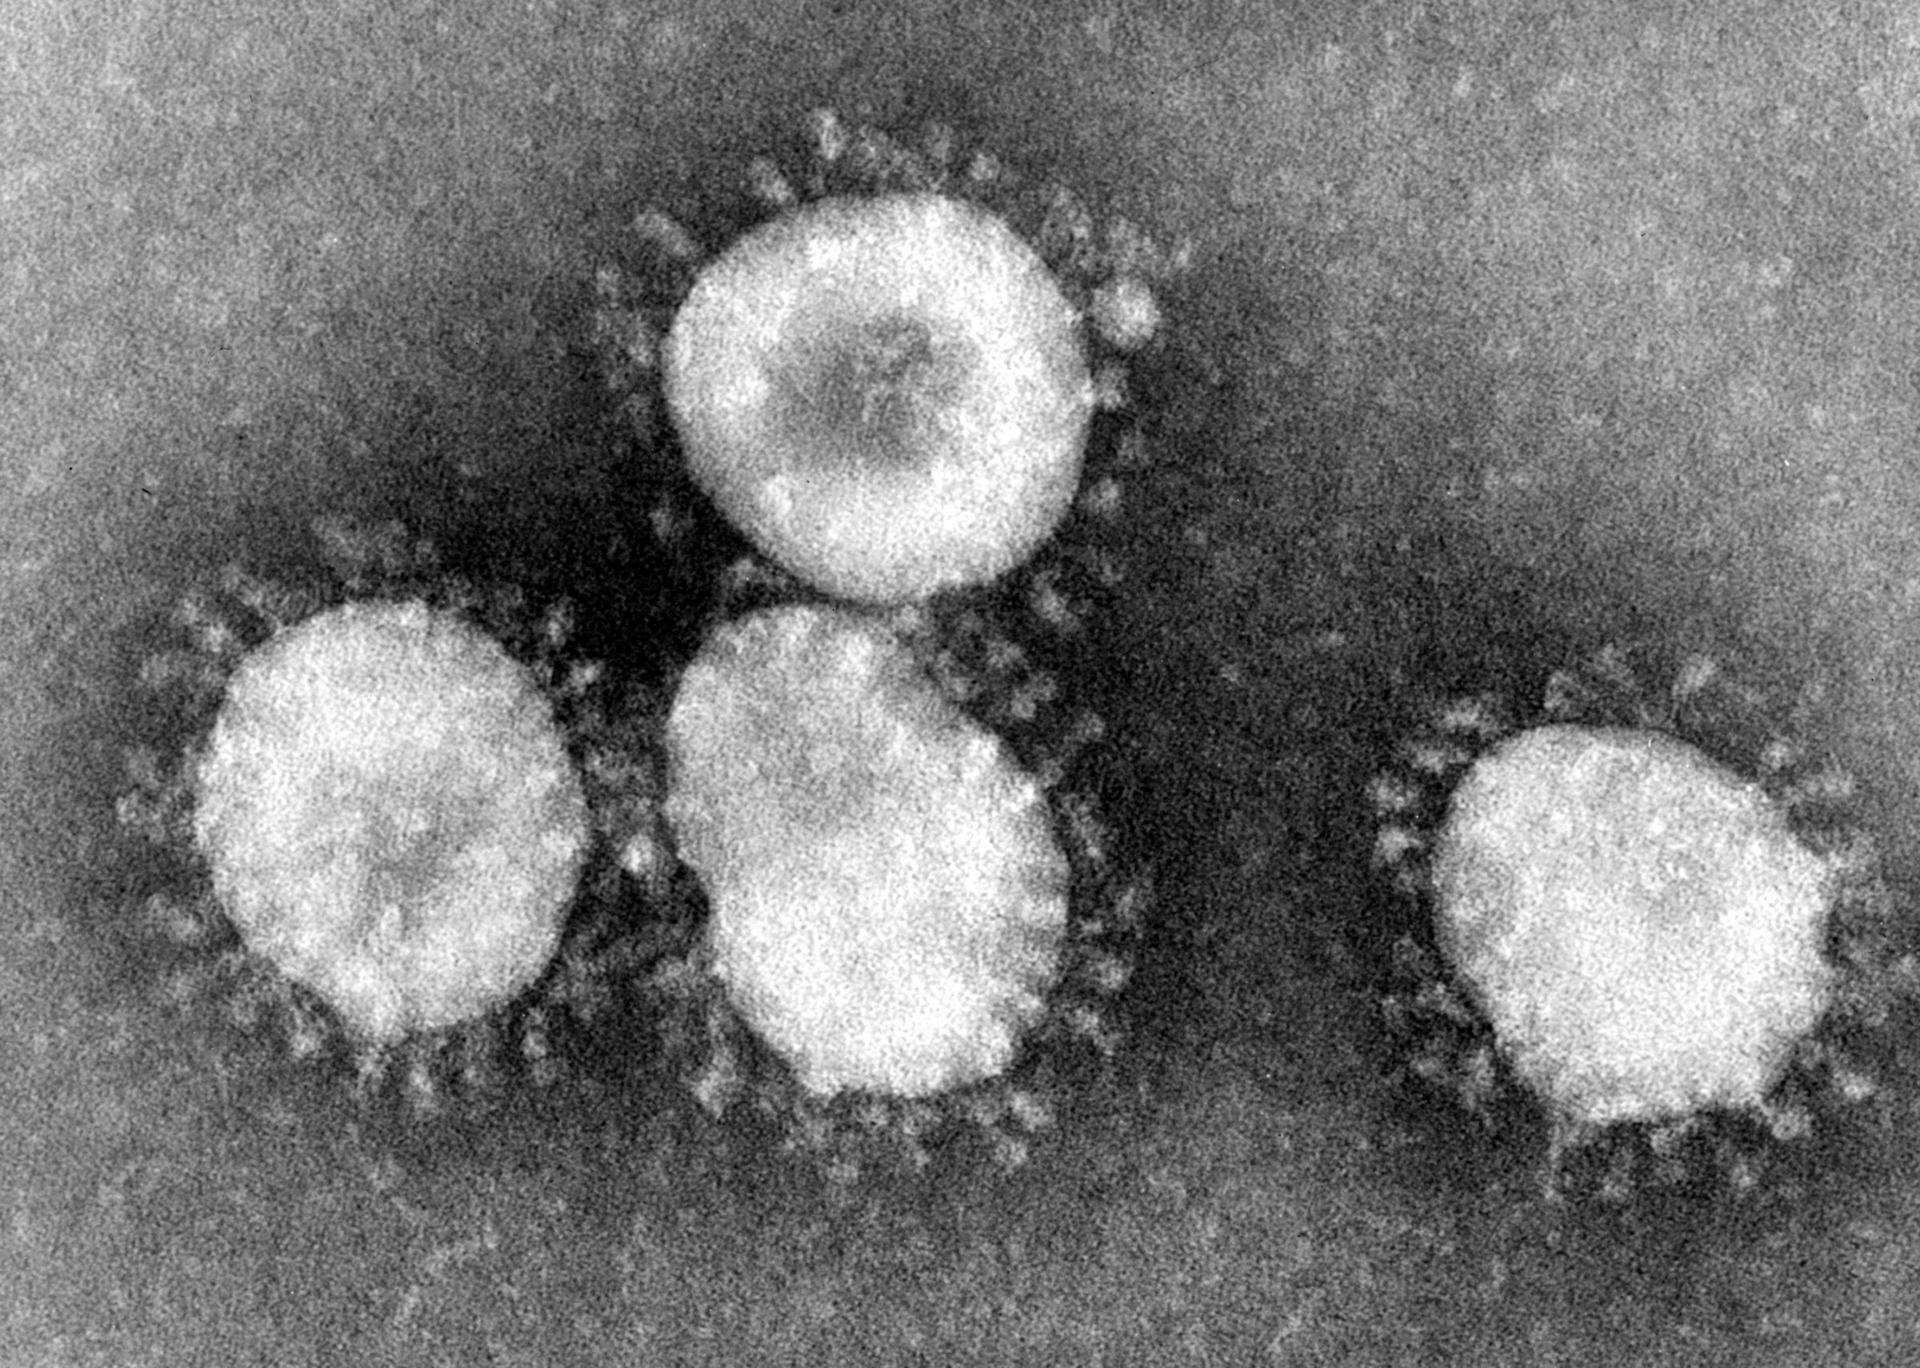
It was this micrograph that inspired a scruffy self portrait I drew a couple of years ago, where I applied the corona of spike particles to my portrait.
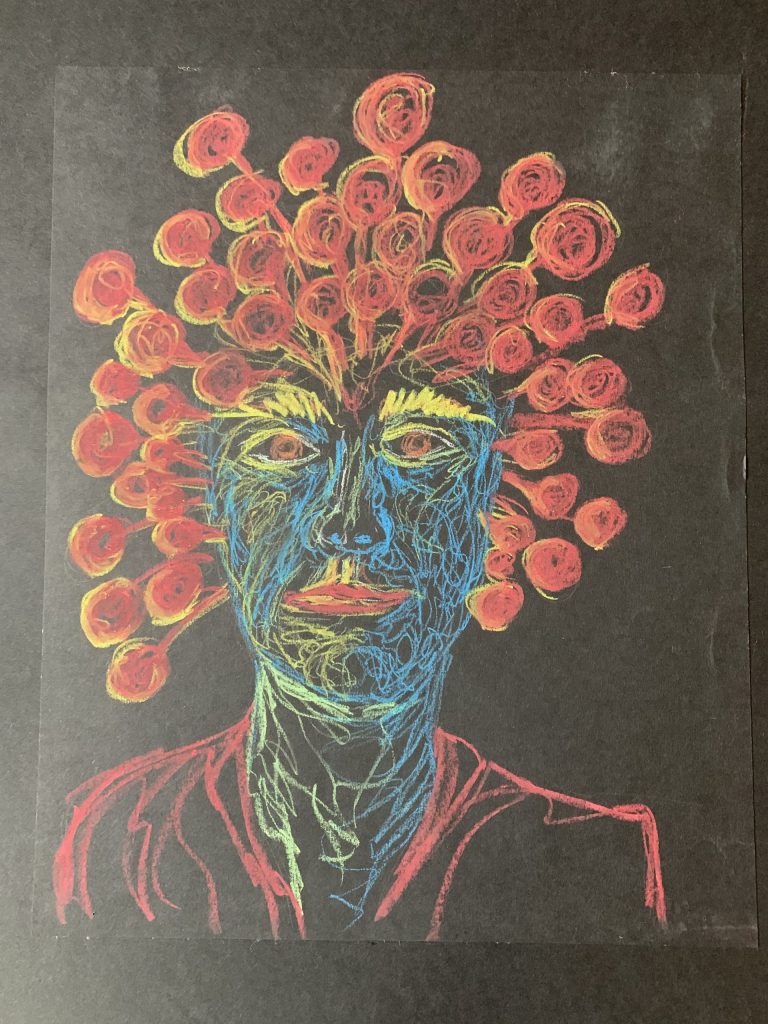
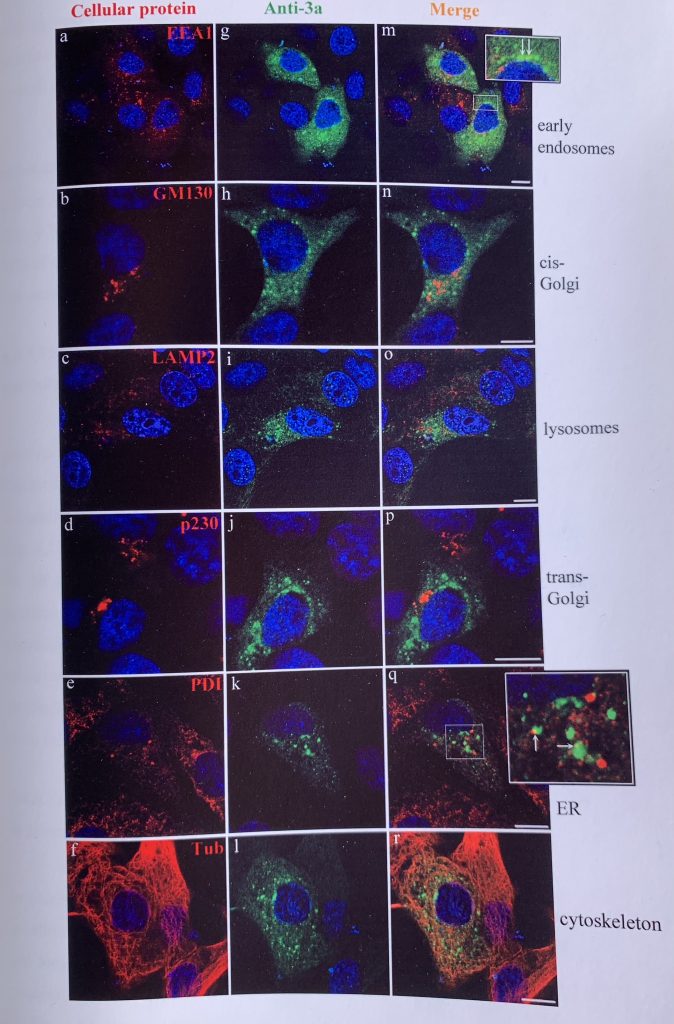
If you are wondering about my bizarre colour choices, they too were inspired by my PhD, I did a lot of confocal microscopy work that used fluorescent markers to highlight different cellular structures and virus proteins (even as a scientist colour was still a very important element in my work!).
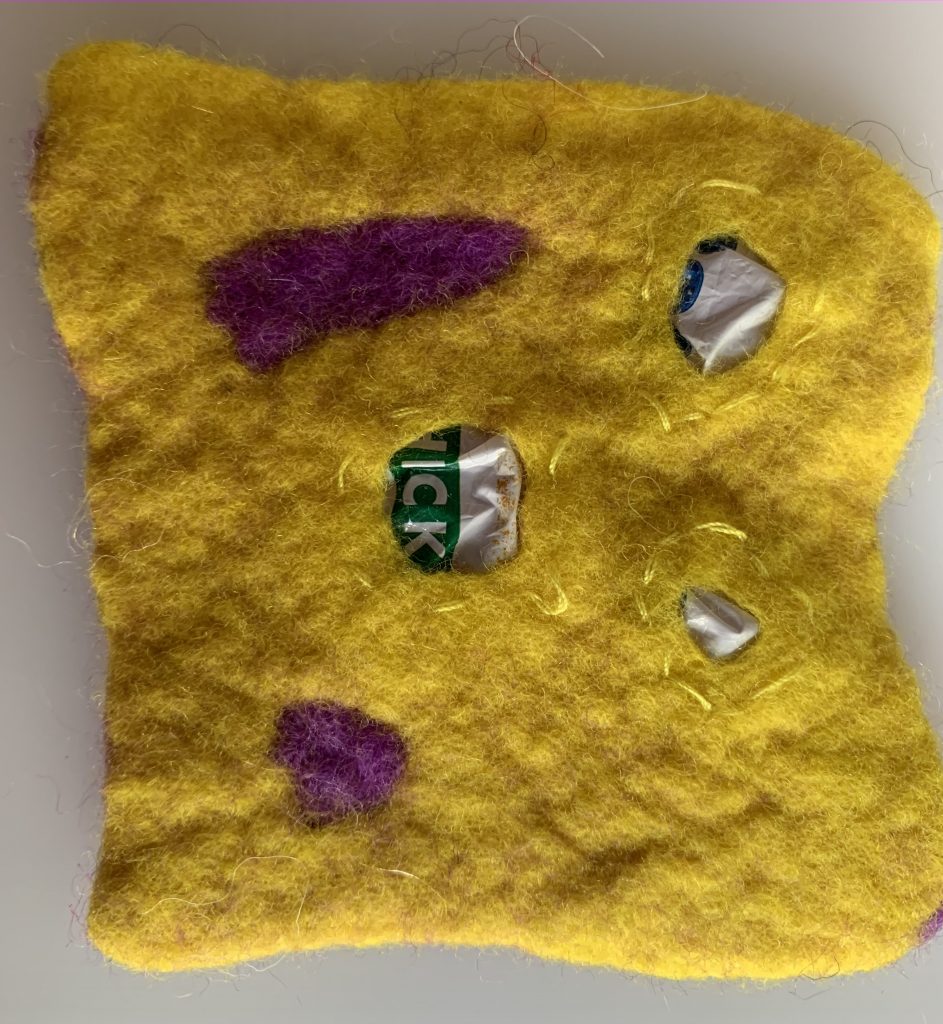
Those who know me, know my favourite felt practice is sculpted, 3 dimensional wet-felting. It seemed like a natural step to translate the self portrait into a series of 3D faces.
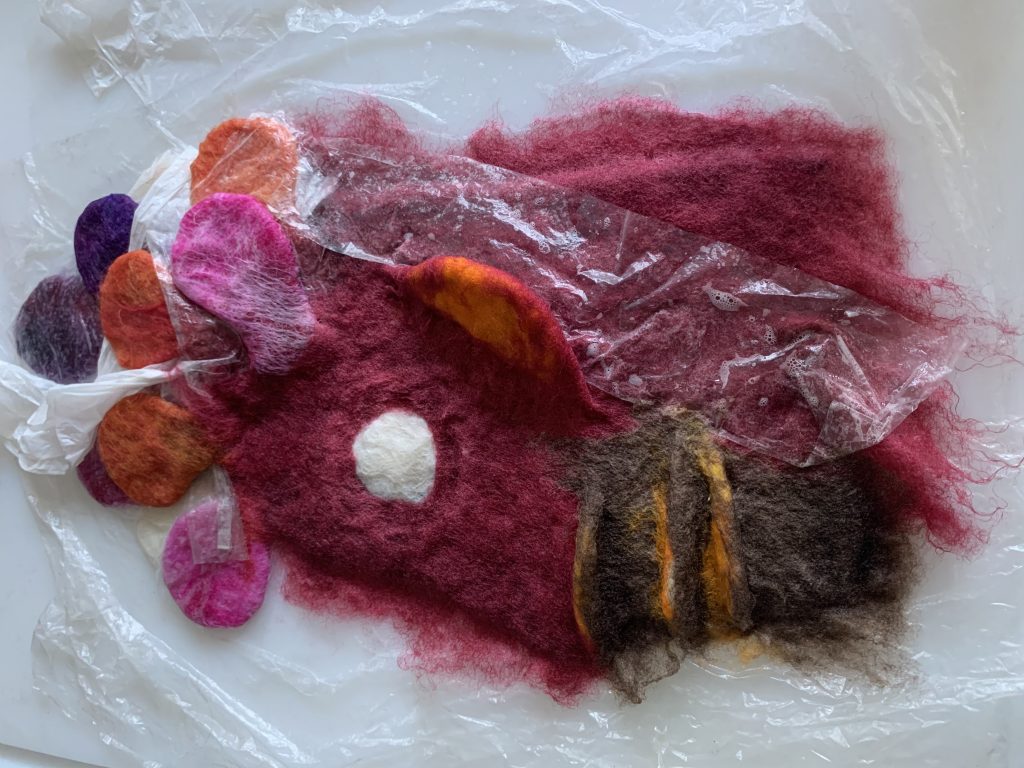
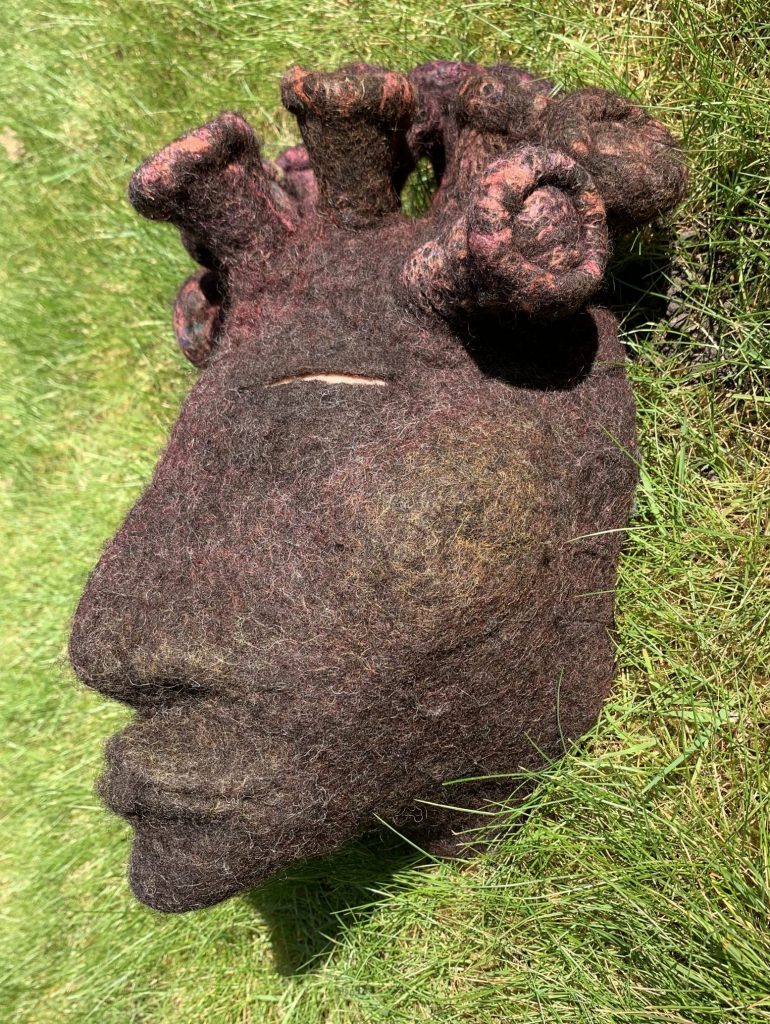
I applied quite a lot of silk to the “spike proteins” expecting them to add a dash of colour but the fuzzy nature of Black Welsh wool has all but engulfed them
My plan is to make a series of “masks” with different ethnicities to reflect the global impact and arrange them as a wall hanging.
I will post an update as this project progresses but in the meantime please be kind to yourself as well as those around you, this situation and the feelings that accompany it is alien for almost all of us but we will get through it.

Stay safe, stay home.

