A few weeks ago I spotted a last minute ecoprinting workshop that Kim Winter from Flextiles was running, this is a technique I have been curious about for some time so I jumped at the chance to go play with a lovely group of ladies. It turns out this is the perfect time of year (in the northern hemisphere) to be ecoprinting as most plants are at the end of their growing season and I don’t feel so bad about denuding my beautiful Acer knowing it will shed its leaves in the next few weeks anyway.
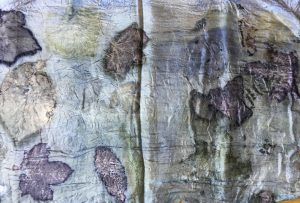
The workshop focussed on printing on silk, probably the easiest of fibres to print as it doesn’t need to be mordanted first. These are the pieces I made during the workshop, out of respect for Kim I am not going to share her methods here but I think most of what we learned is available on the net. All but the first piece were printed with an iron blanket:
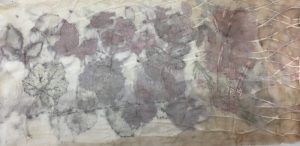
Printed and simultaneously dyed with onion skin, note the repeat (ghost) prints as no barrier was used
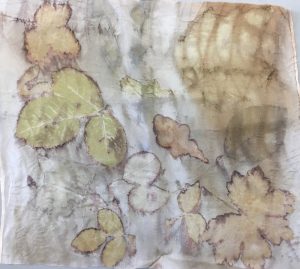
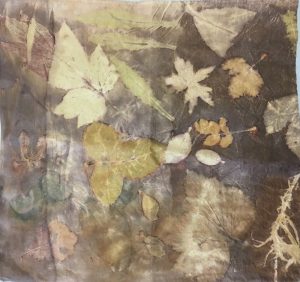
Silk dyed with tanin and iron blanket
I also took a few scraps of nunofelt along to the workshop just to see what would happen and was pleasantly surprised with the results:
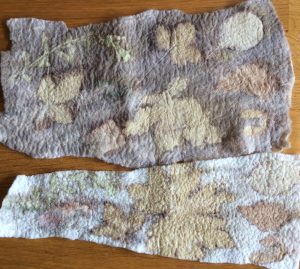
Top piece was dyed with tanin before printing
Although I came away from the workshop with a good range of samples I wanted to test more of my local plants on both cotton and silk and with my notoriously hard local water. The cotton was mordanted with 10% Weight of Fabric (WOF) Alum (Aluminium Potassium Sulphate), rinsed and dried before use. Mordanting is a process that makes it possible for the dye to form a chemical bond with the fabric, therefore making the dye colours stronger and more light- and wash-fast.
For almost all the leaves I placed one leaf (on the left) with the veins facing the fabric and a second leaf with the veins facing up. In almost all cases the side with the veins gave the best print.
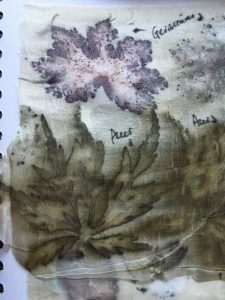
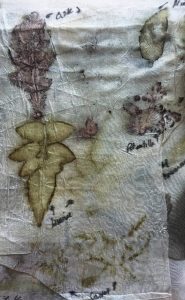
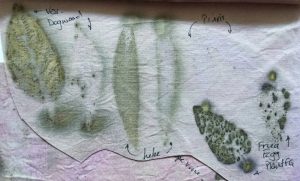
These are my results on silk, as you can see, some plants produce much better prints than others. Clicking on the photos should enlarge them enough to read my plant labels, I am ashamed to admit I don’t know names for all of the plants are, so some are just location labels for my own reference:
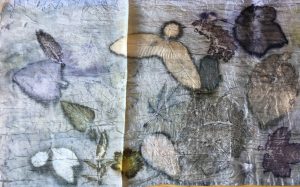
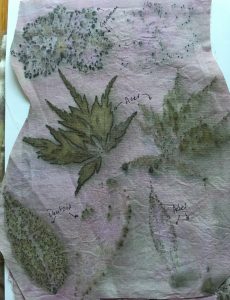
And these are my results on alum-mordanted cotton (the cotton is pink from a magenta coloured top included in the mordant bath, but had the unintended benefit of revealing which plants might discharge the dye):
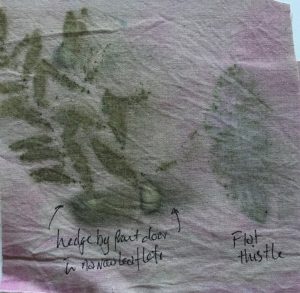
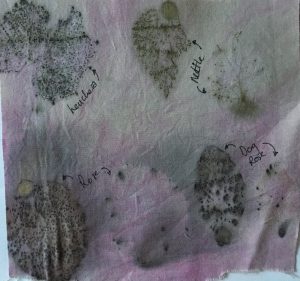
In the next photo the leaves in the lower left corner clearly discharged the dye.
I also had a play with some natural dyes too, madder and logwood. My biggest learning is that madder loses its colour above 60ºC so printing with steam onto madder-dyed fabric causes the colour to fade. But how I love logwood! You can get anything from pale grey-purple through to the deepest indigo-purple colours depending on the strength of the bath and how long you steep your cloth.
Pre-dying cloth with logwood has opened up the option of discharge printing, a technique that relies on the ability of certain plants to remove the dye from the cloth. These are some of my test pieces, very few of the plants I tried removed any of the logwood dye:
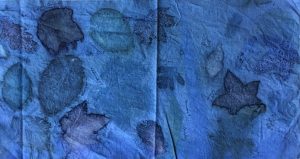
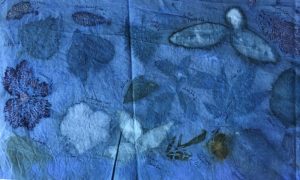
Feeling brave I raided my local charity shops for pale coloured clothes with a high cotton content and these are the results of my first attempts, some I am really pleased with and have been wearing at every opportunity 🙂
This was my first attempt, I was a little disappointed that the large fern frond I placed on each side only left a pale smudge rather than a print but otherwise there were some nice geranium prints.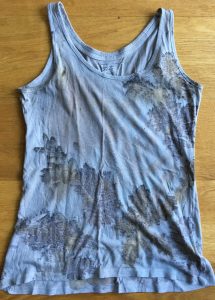
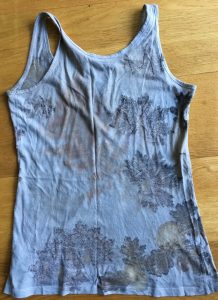
This was the offending magenta top that dyed my test cottons pink but I was really pleased with the subtle crimson prints it gave.
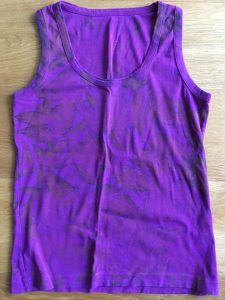
This one was initially shibori-dyed with logwood – that gave the barbed-wire effect across the top (best seen in the second photo) and then printed with sycamore and deutzia leaves.
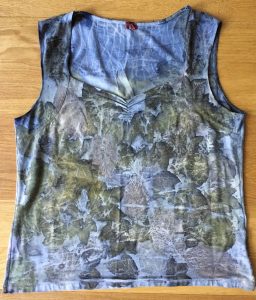
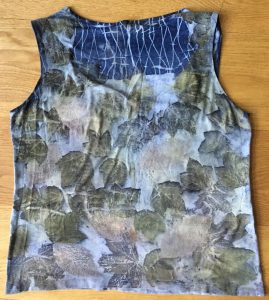
This is my favourite print so far, it was predominantly sycamores and acer. The lovely orangey-yellows were from just one tree, it still amazes me how different trees from similar species give such different prints.
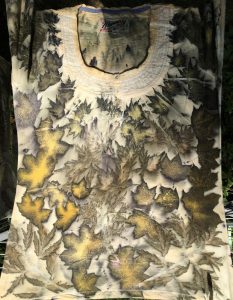
This shirt was dyed with logwood and then printed with sacred bamboo and sycamore leaves. Unfortunately you cannot see distinct leaf shapes from the bamboo, it looks more like I splattered the shirt with white paint, the sycamore leaves gave a nice crimson print though.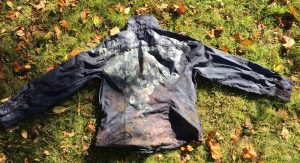
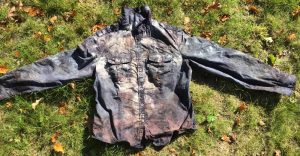
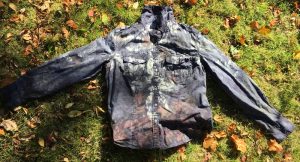 I tried reprinting over the white areas with some more sycamore leaves and some virginia creeper. I’m still not happy with it… perhaps I will dye it with logwood again and just print with sycamore leaves instead.
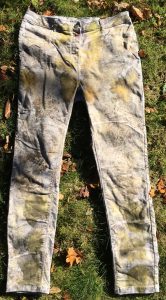
I found some very pale lilac jeans, they still had their original shop labels, clearly whoever bought them had second thoughts about them by the time they got them home. Initially I printed them with chestnut and geranium leaves but was really disappointed with the pale quality of the prints so over printed them with sycamore leaves, that added the yellows and greens you can see below. Some of the yellow patches were in some rather unfortunate places…
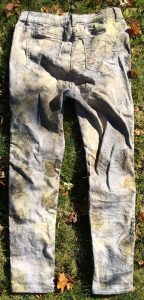
So back into the dye pot they went! This time I rolled the jeans up with more sycamore leaves and a few from my acer tree and put them in a logwood dye bath….
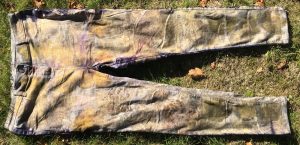
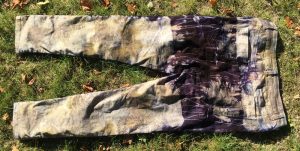
I was hoping the logwood would reach the groin area on the front as well as the back but I do like the way the purple plays against the yellow.
If you are interested in exploring ecoprinting, these are some resources that I have found useful:
Printing with Botanicals FB page – there are several FB pages dedicated to ecoprinting but this one insists that anyone posting their work shares the method they used – incredibly helpful for beginners.
Wild Colours – a UK supplier of mordants and natural dyes but they also list methods and recipes on their website.
For natural dyeing I can recommend Jenny Dean’s book, Wild Colours, she provides recipes and methods as well as colour swatches to give you an idea of how alum and iron will impact the final colour.
If you are concerned about the toxitiy of mordants used in natural dyeing (that was my main reason for not attempting it sooner) you might find this post interesting: https://alpenglowyarn.wordpress.com/2014/11/11/mordants-and-natural-dyeing-the-great-debate/
Confused about the difference between mordants and chemical assists? Take a look at this: http://www.pburch.net/dyeing/FAQ/mordants_and_assists.shtml
Have you tried eco-printing? What results did you achieve?




 I tried reprinting over the white areas with some more sycamore leaves and some virginia creeper. I’m still not happy with it… perhaps I will dye it with logwood again and just print with sycamore leaves instead.


