Over the past year I have been working on a series of bag tutorials for the Felting and FIber Studio online bag class that will begin on May 24th. I am so excited this long-awaited class is almost here! ?
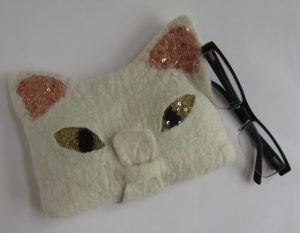
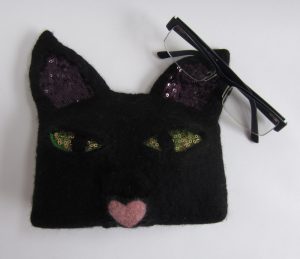
The first week will cover the techniques to make a spectacles/phone/pencil case that uses only felt for the closure (no buttons or magnetic snaps), to date most of my pouches have been cats with bling, so this weekend I have been making a giraffe to illustrate that you can choose any animal you wish, it could be beloved pet, a friend’s pet (they make very personal gifts), a wild animal, or even an imaginary monster, the choice is yours! 🙂
In each case below, the tongue of the animal forms the tab that closes the flap over the pouch opening.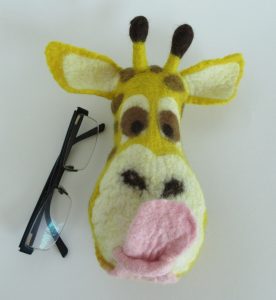
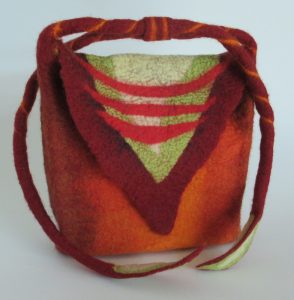
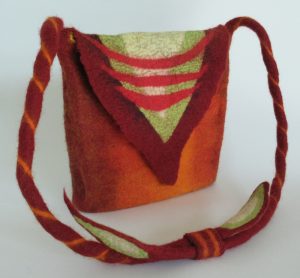
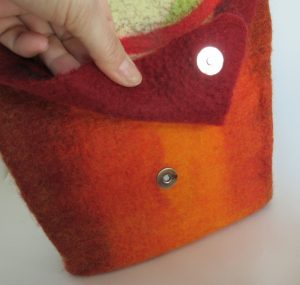
The second week will be about making a bag with adjustable straps and internal pockets, adding a magnetic closure and how to shape the bag so it has a flat base that will sit on the ground without falling over.
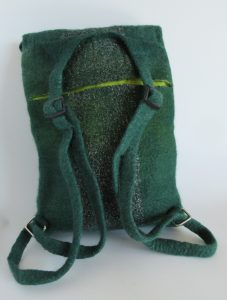
Finally in week 3 we will look at how make a backback with large internal compartments and multiple pockets, choosing the hardware and making adjustable straps from either canvas webbing or wool. Consideration will be given on how to make large bags durable enough to carry a heavy weight without being heavy themselves.
The red backpack is my bag, it gets daily abuse from me and this is what it looks like after 6 months, they are pretty sturdy bags!
The pale green/yellow slit you can see on the back of the green backpack is a large pocket, I will add a zip when I get a spare hour 🙂
The great benefit of online classes is that you can work at your own pace and at times that fit in around you and your other commitments. Although the class nominally runs for 3 weeks, the forum will be open and I will be there to offer support and answer questions for an additional 2 weeks in case you are unable to make a bag one week or would like to make more than 3 bags and share photos of your wonderful creations with the rest of the class. 🙂
The PDF tutorials from each week will be yours to keep after the class has finished.
For more information and to register your interest in the bag class please follow this link and complete the contact form at the bottom of the page. I will be in touch by email just before registration opens at the beginning of May.

