Last year I joined the Wey Valley Workshop, an exhibiting textile group based in west Surrey (UK). The theme for this year’s exhibition will be “re-use, recycle, re-purpose” and titled, “Adapt, Adjust, Amend”.
I have long considered myself (and most felt-makers) to be a Womble at heart, making this an ideal exhibition theme. For those who do not have childhood memories of these fictional furry beasties from the 1970’s, they were among the original recyclers, decades ahead of their time, collecting rubbish left by others and finding new uses for it. As I write this post the theme tune is running through my mind….
Underground, overground Wombling free, Wombles of Wimbledon Common are we….
Making good use of the things that we find, things that the everyday folk leave behind.
By our very nature, using wool (a waste product of sheep husbandry) as our principal material we felt-makers are already up-cycling other people’s “rubbish” but many of us also scour charity shops for unwanted fabrics and felting tools (AKA children’s toys, massage tools and kitchen equipment), old rubber mats, plastic shelf liner… the list is endless, in our pursuit of textile happiness.
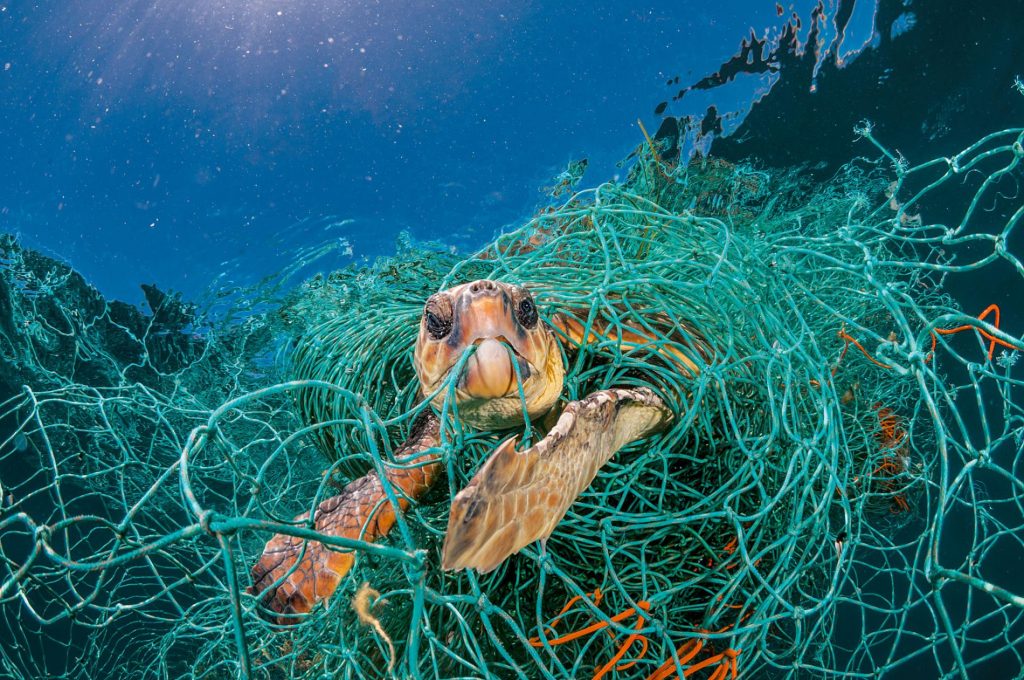
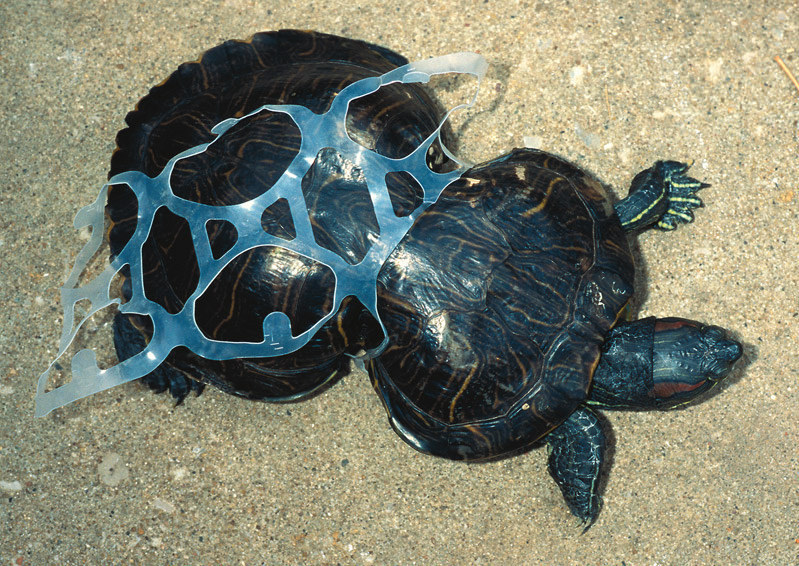
For my exhibition piece I wanted to highlight the growing issue of plastic detritus in our oceans. The impact of human activity on the wildlife in our oceans is truly horrific, I have been reduced to tears time and again by they photos and videos I encountered while researching this project. The impact of plastic affects all ocean-dwelling species, from the the larger pelagic species and seabirds found dead or dying from gut obstructions (caused by swallowing plastic carrier bags) or intestinal perforations (caused by ingesting shards of plastic), to turtles and fish entangled in the plastic rings from multi-packs of drinks and discarded fishing nets, down to the tiniest crustaceans ingesting micro-plastics.
I knew I wanted to upcycle some waste plastics into my exhibition piece and that it would have an aquatic theme so I put a call out for mesh plastics on local social media sites and to the Wey Valley Workshop members, I was inundated with donations, this is just a fraction of the plastic netting I received….
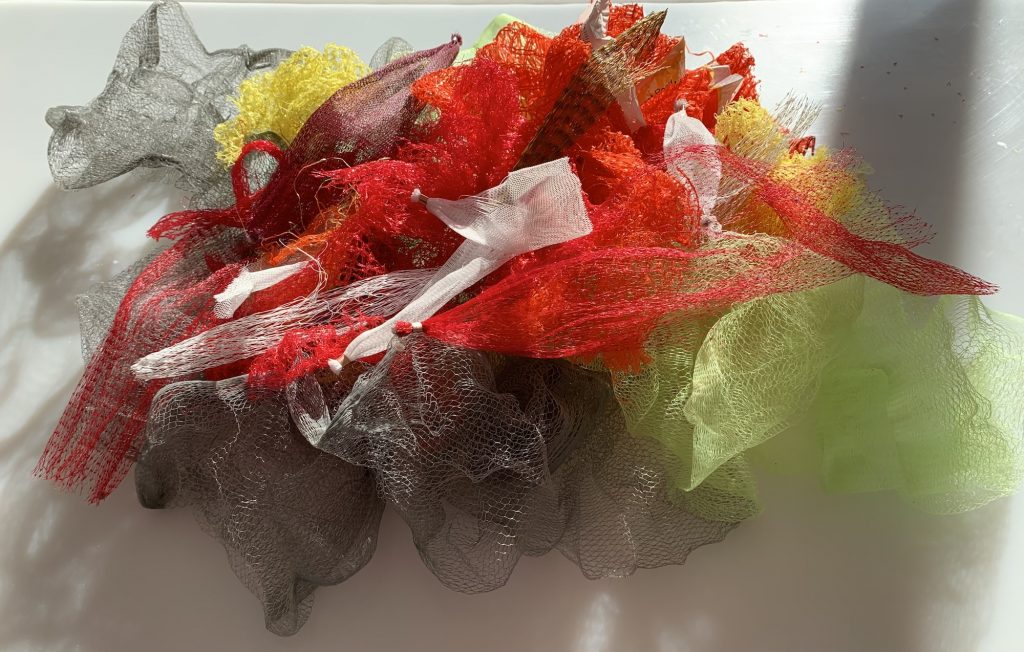
Many, many thanks to all the wonderful people who donated to this project, I will make sure they are put to good use and don’t end up in landfill.
My initial thoughts were that the netting would look like fish scales when felted into the surface but the more I pondered this exhibition piece the more I started to see possibilities in all manner of items that would normally go in the recycling bin and a few items I could rescue from the horrors of landfill. So I started collecting all manner of “rubbish” much to my other half’s bemusement.
Unusually for me, I refrained from immediately making the most complicated fish imaginable, instead sampling a wide selection of plastics, including food netting, carrier bags, drinks bottles, sweet wrappers, bread bags and the trays soft fruits are often sold in.
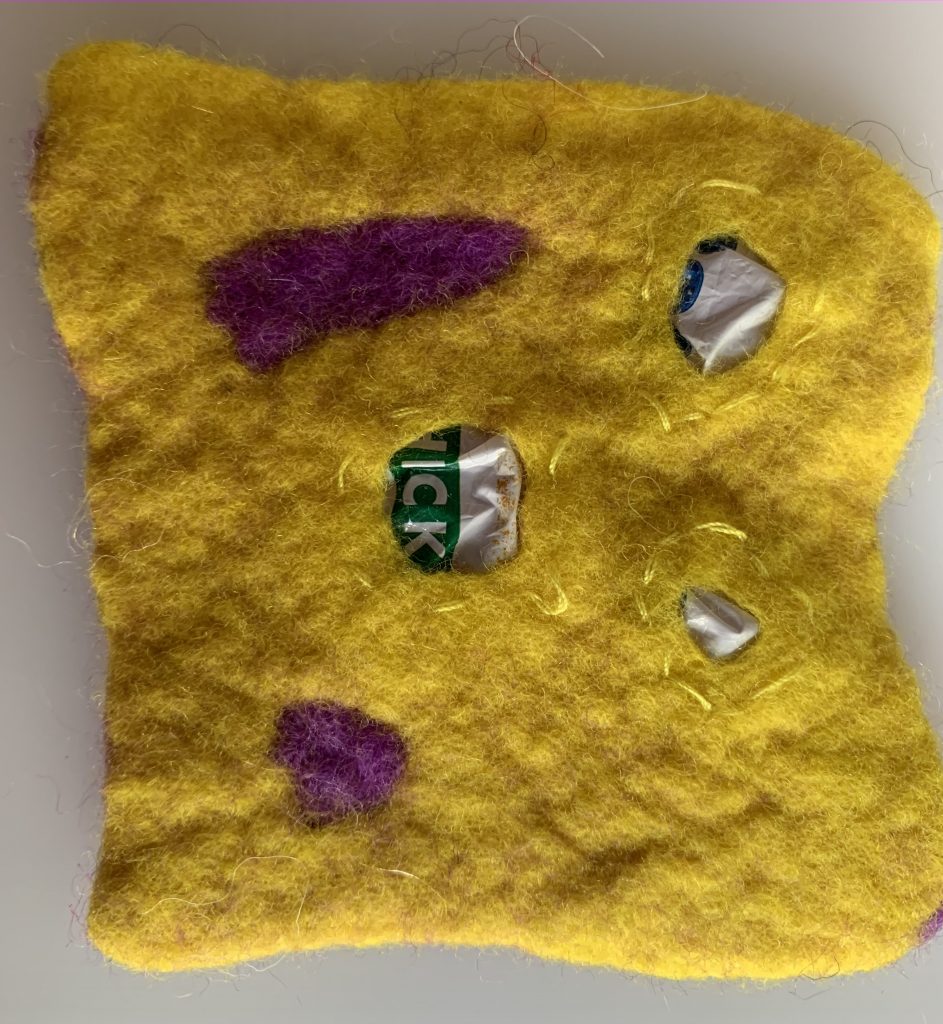
The sweet wrappers were a surprise, they feel like plastic but once they were wet with warm soapy water it became apparent that they were organic in origin; they became slimy and slowly disintegrated while I was fulling the felt.
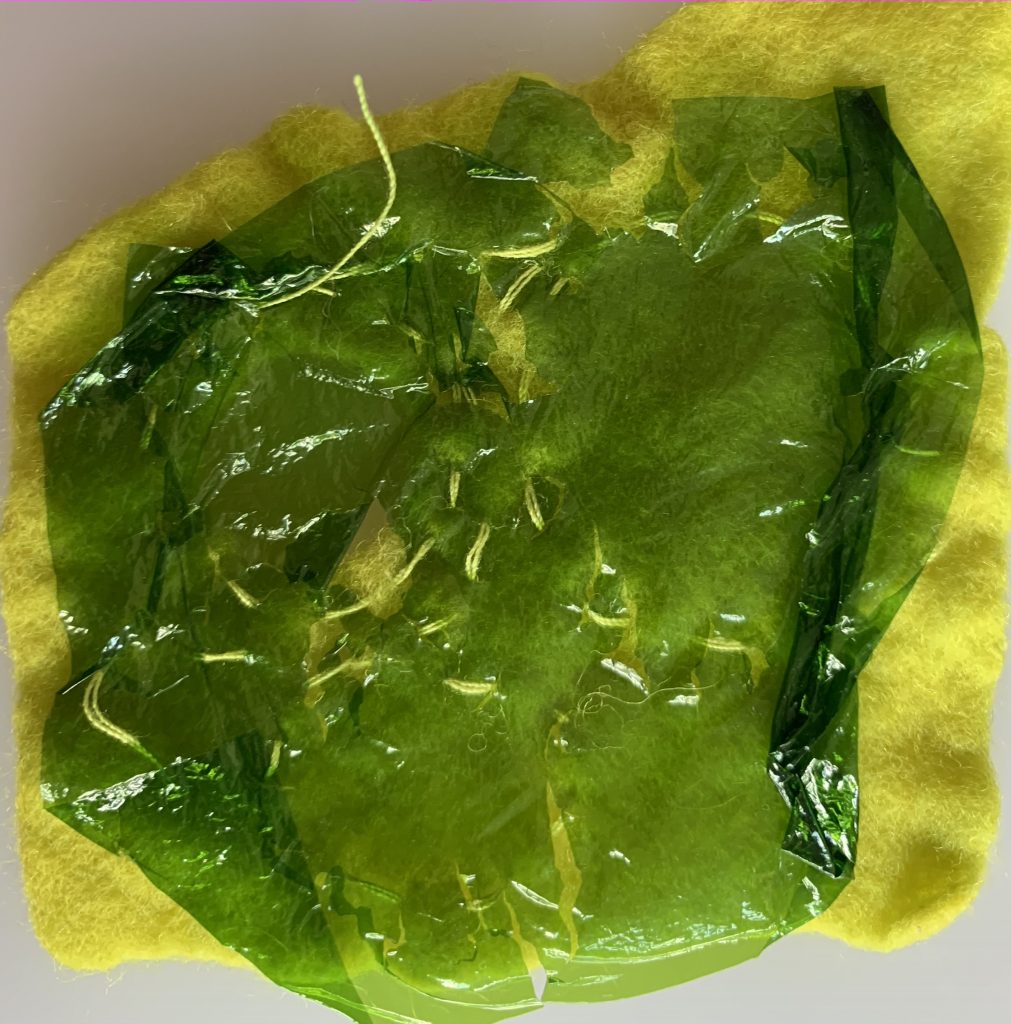
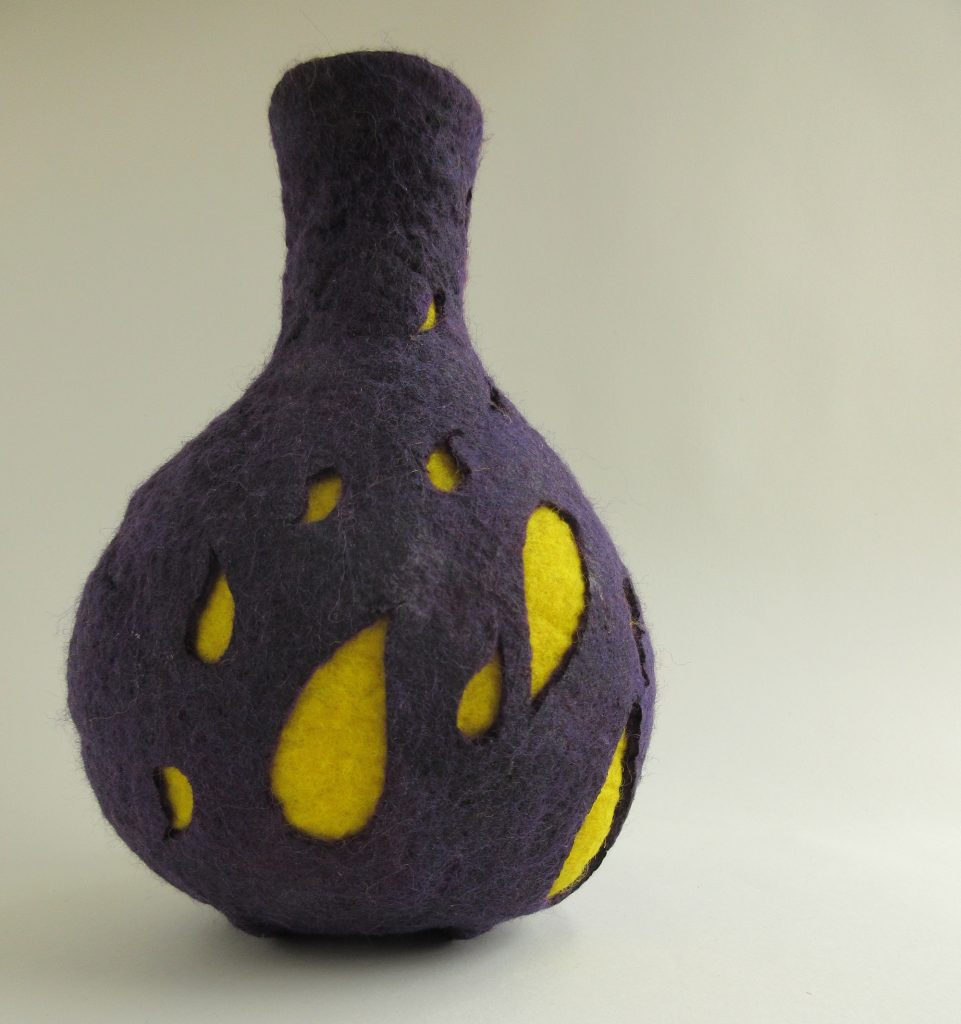
Already impatient to stop sampling and start making, I started experimenting with different resist shapes for the fish, of course I had to start with my most complicated idea first…. ? This is a yellow box fish, made using a book-resist and strips of deep purple carrier bag between the layers of wool. He is a bit of a disaster but with a lot more work he might still make it into the exhibition.
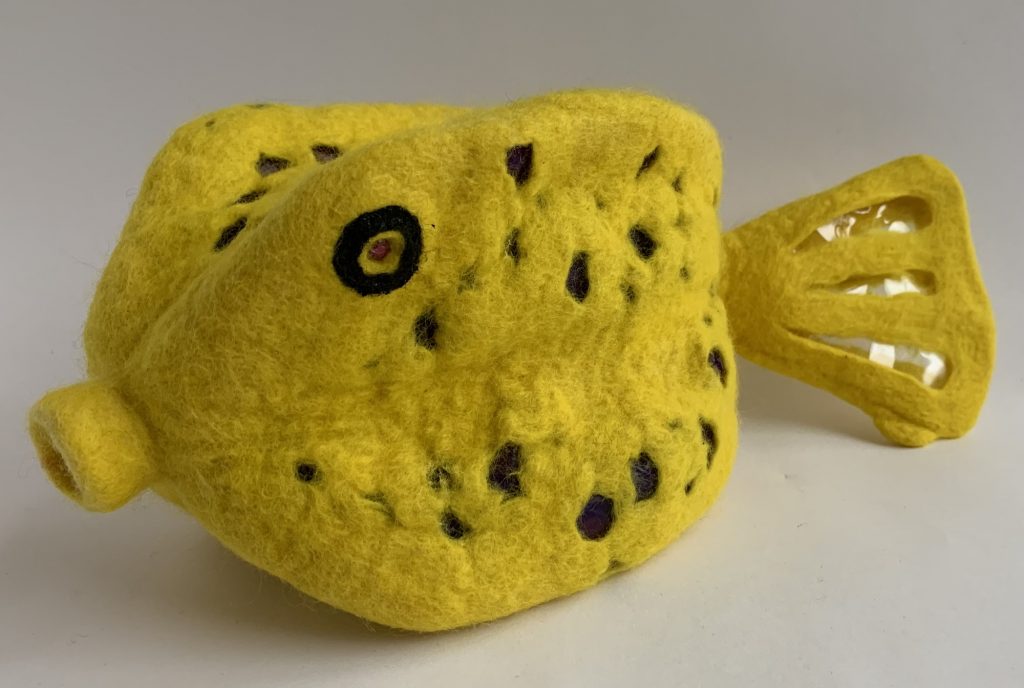
My next two “water babies” were a little more successful, this time using plastic mesh for surface decoration.
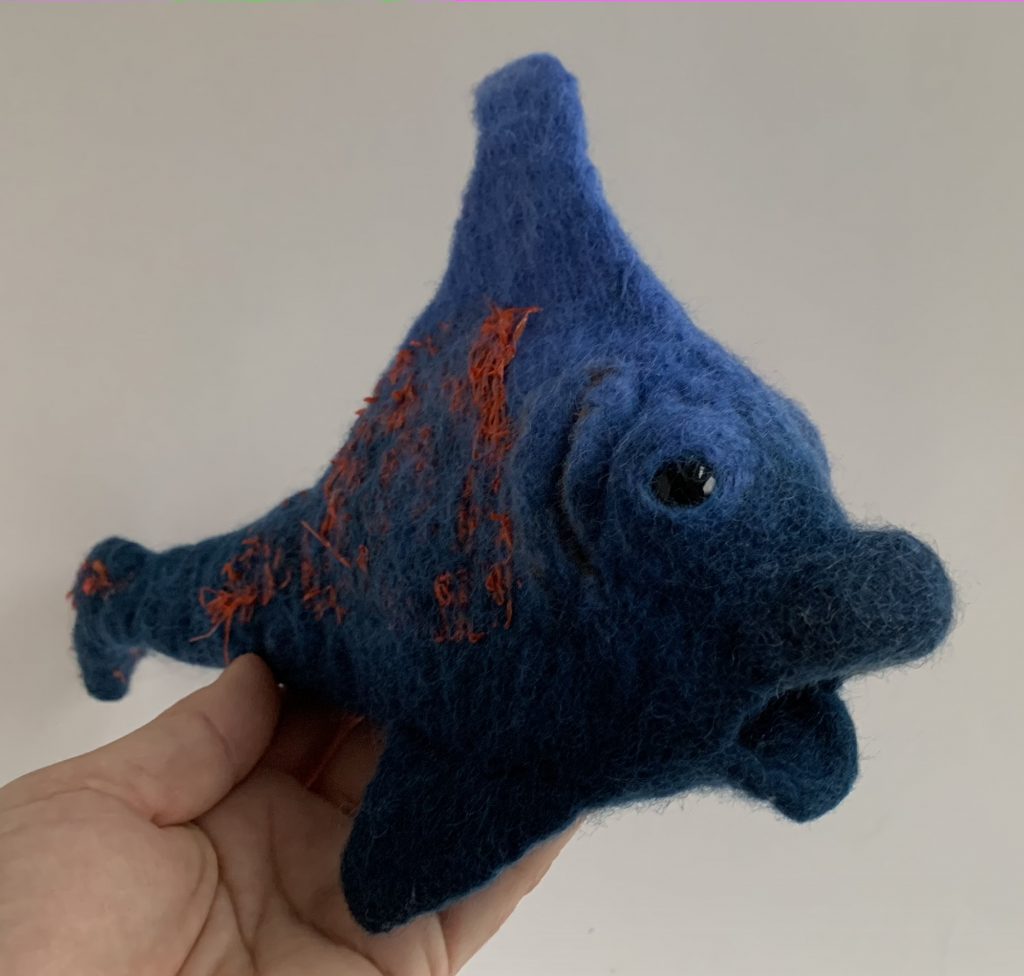
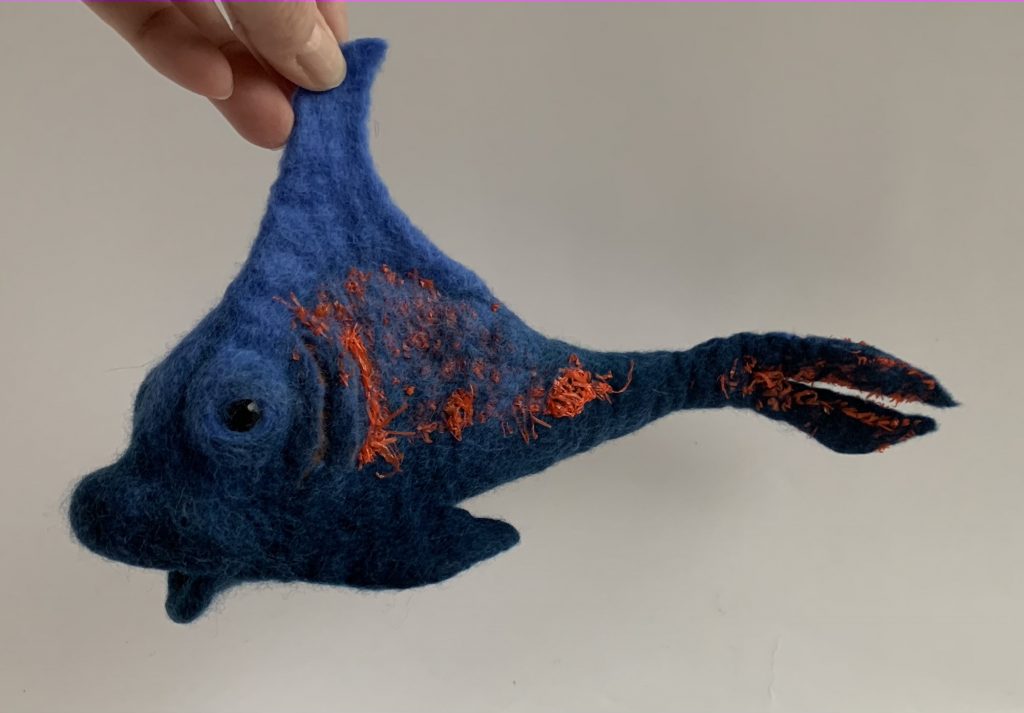
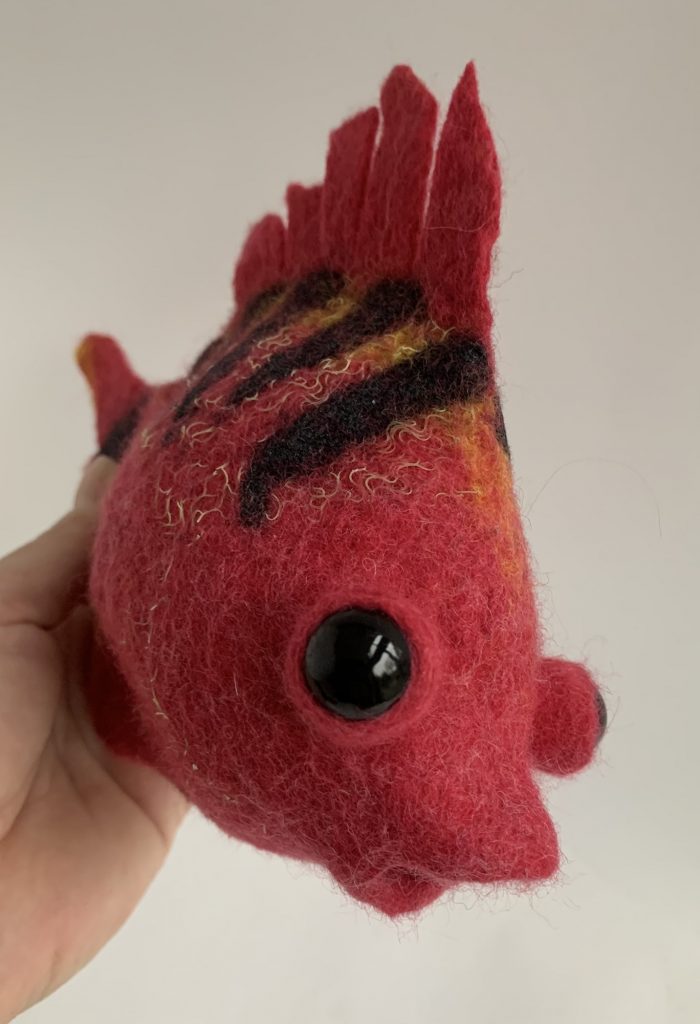
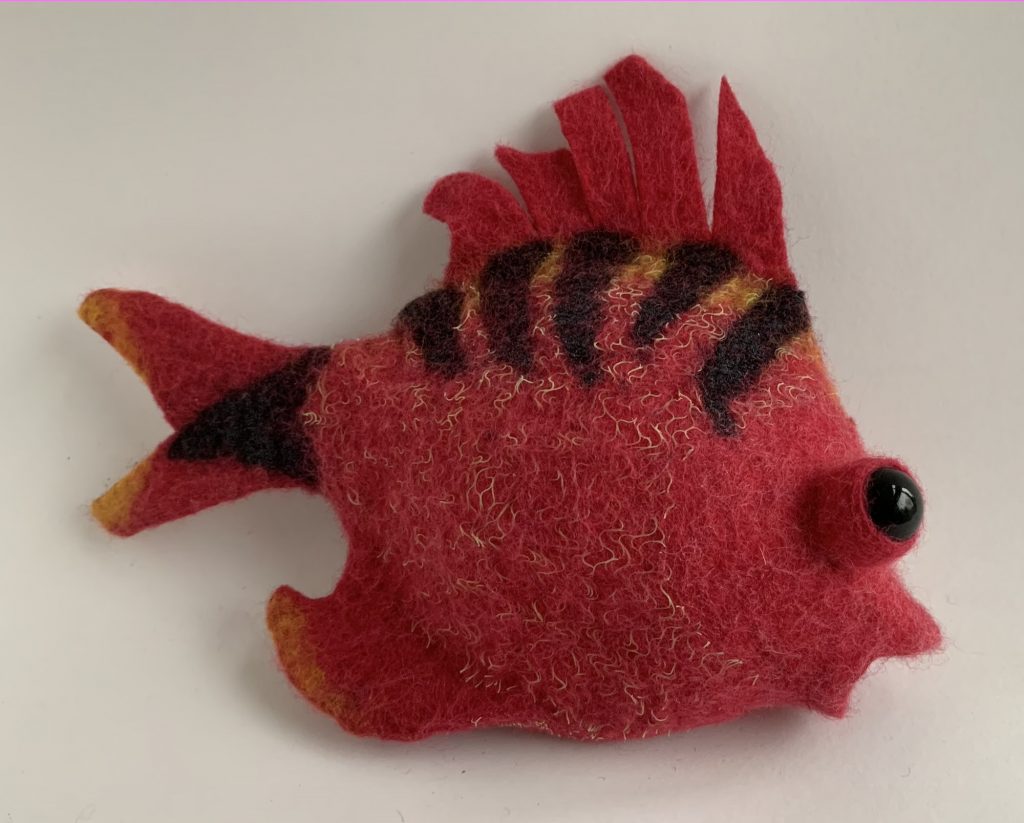
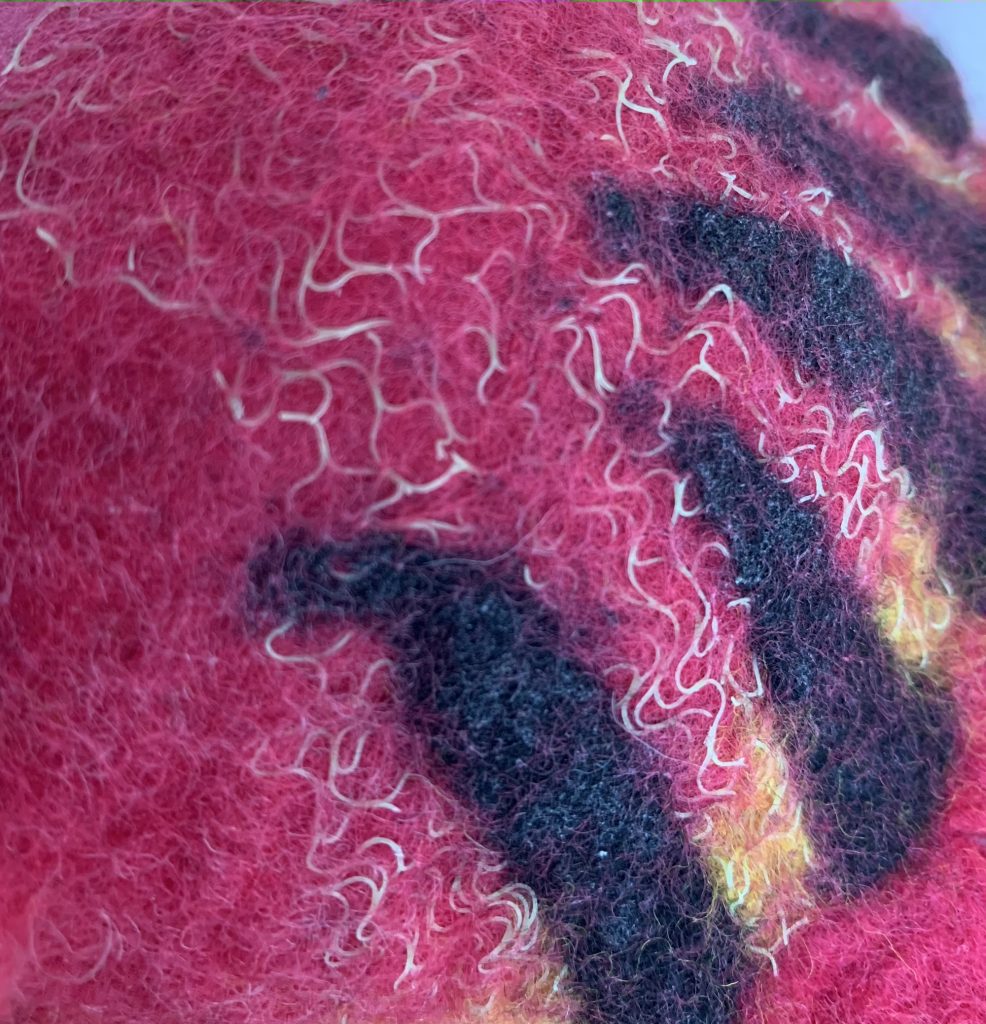
Plastic bottles and food trays have proved useful in my attempts to replicate coral (employing a fair amount of artistic licence of course).
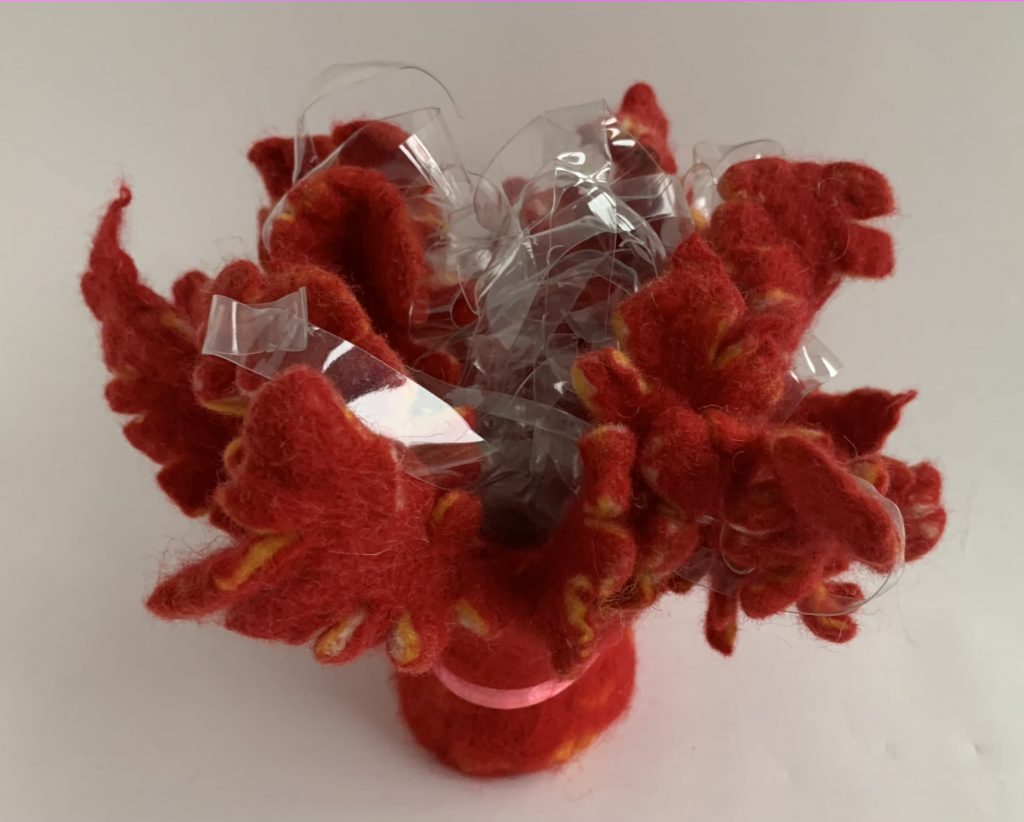
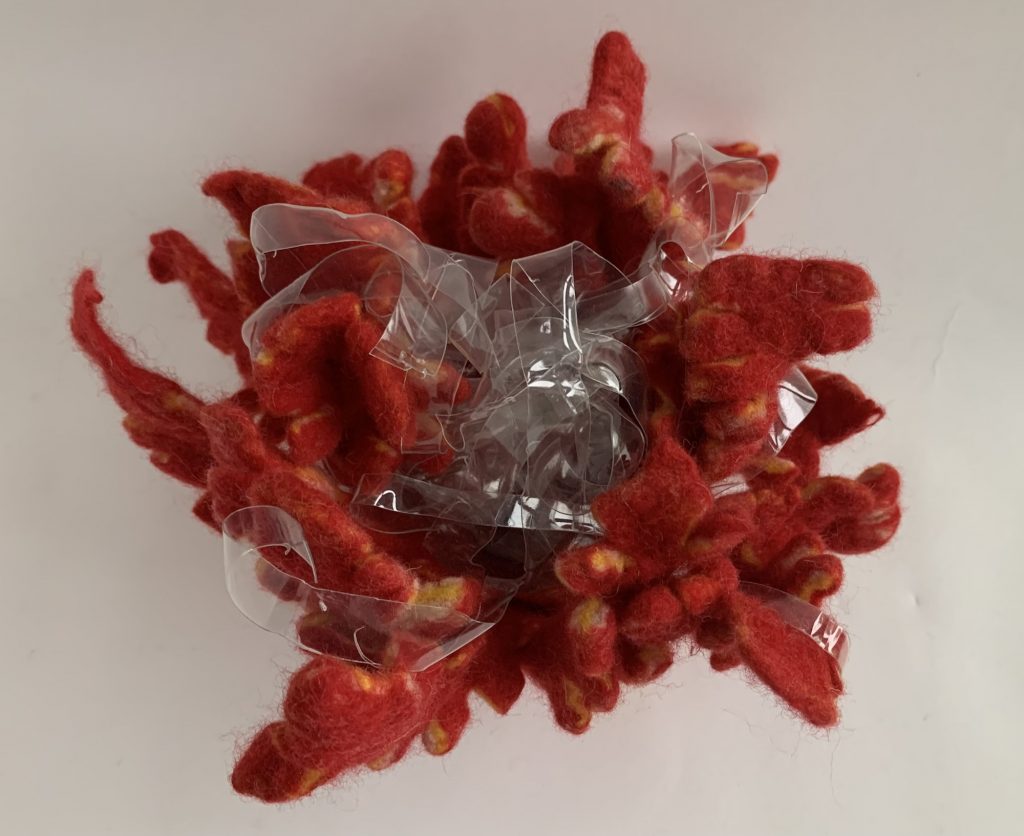
I plan to colour the plastic and entwine it more evenly amongst the felt but I am mesmerised by how the shiny plastic and matt felt augment each other’s qualities.
Some of my other plastic bottles have the potential to be become jelly-fish, what do you think? Try to imagine this piece upside down with slubby yarn tentacles….
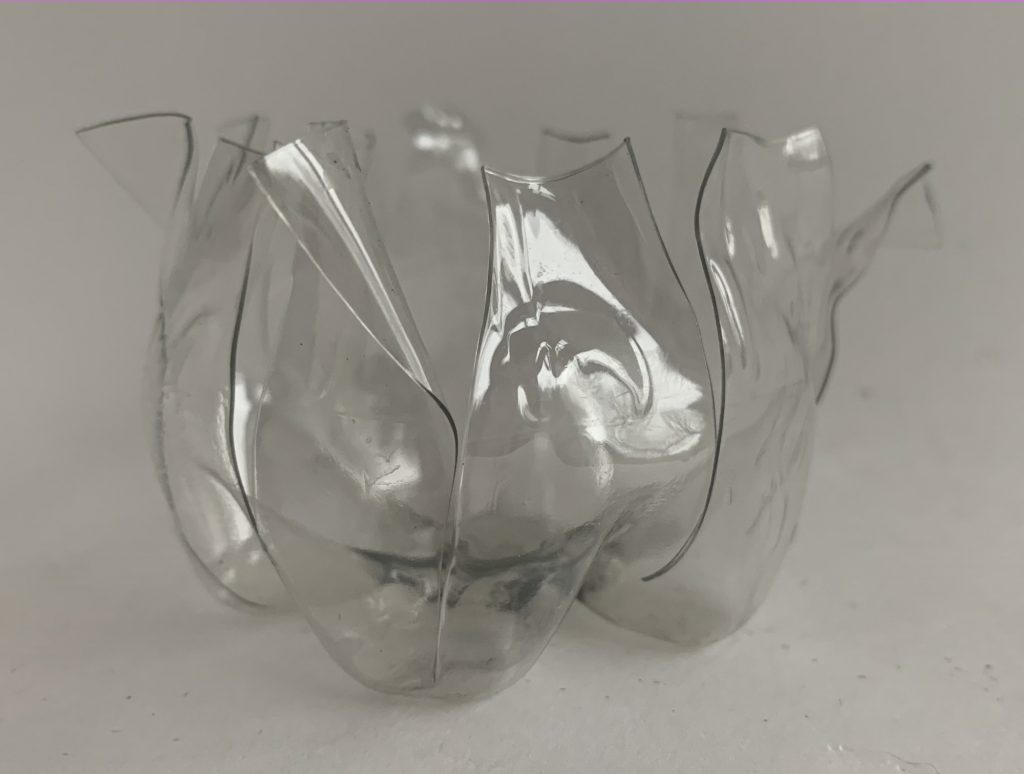
This just the beginning for this piece of work; looking forward, I hope to incorporate crisp packets (which invariably end up in landfill) into some fish and I envisage all of these elements (and lots more, yet to be made) forming a 3D coral outcrop that could be hung from the ceiling.
Has this post struck a cord with you? Would you like to do more to lessen your personal impact on the oceans? This link contains several helpful suggestions, some of which I expect you are already doing but there may be one or two you haven’t considered yet. Please add a comment your thoughts on this topic and any novel steps you are taking to minimise your “footprint”.


