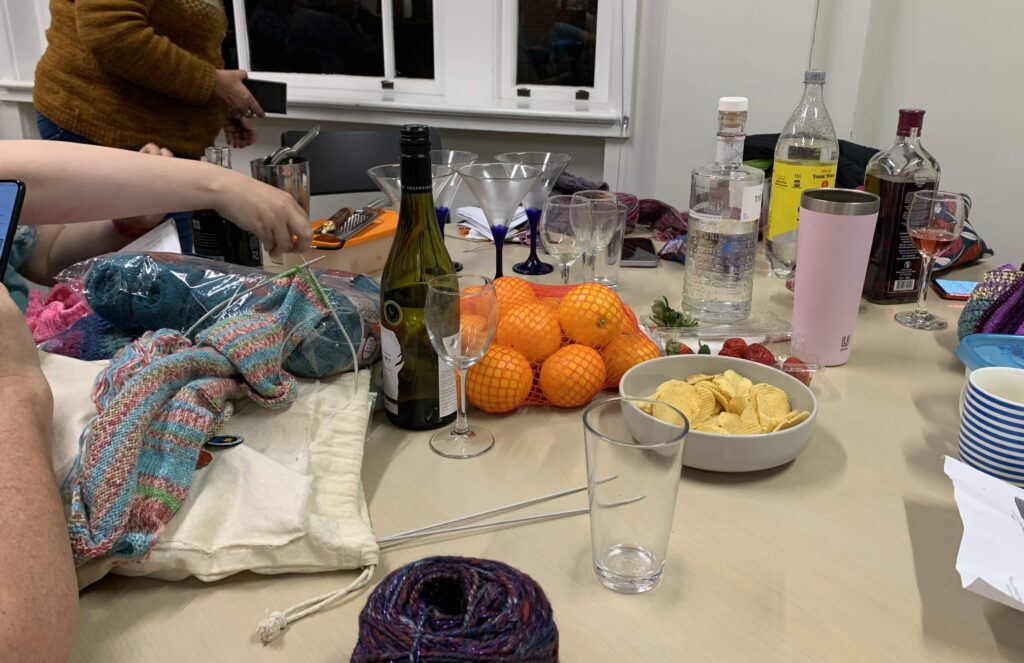
Twining with a little help from my friends

Happy New Year!!

November and December were incredibly busy but I am glad to say things have calmed down a lot in the last 3 weeks. The Christmas markets have closed and I have nearly finished writing the first draft of the much requested tutorial on how to make vessels with feet and lids. The lidded vessel pictured below is the main example I will demonstrate how to make in the new tutorial (with a few others for alternative ways to make lids etc):

A purple and orange felted vessel with a flared foot and a lid with a handle

I just need to write one more section, then edit and proof-read it. I hope to make it available in my Etsy shop in a couple of weeks.

I have managed to complete just one piece of work between the markets, fairs and writing the new tutorial….

Back in September I was core spinning with the intention of using the yarn to experiment with adding twining to ceramic pots, you can read the post about that here.

This is the pot I made, after drilling out the holes I unintentionally filled with glaze. Drilling the holes has made them a little untidy but at least I can now get my yarn through them 🙂

blue and green ceramic bowl with holes around its top edge

I used paper yarn for the warp by threading equal sized lengths through each hole.

Ceramic bowl with lengths of paper yarn threaded through the holes

Once all of the holes contained a strip of paper yarn I cut 2 metres (6 feet) of a pretty boucle yarn to use as my weft. I folded it in half with one side longer than the other, this is so that when the yarn runs out while you are twining it only runs out on one side making it easier to add a new length of yarn.

Before looping the yarn over the first warp strip, I twisted the bottom of each pair of paper yarns to help hold them in position for the first few laps with the weft yarn. For the next pot I will try tying a knot in each pair of warp strips to secure them as the twist tended to come undone while I was twining, I really needed an extra pair of hands to hold everything in place while laying down the first layer of yarn.

Floki was only too happy to “assist”….

Ragdoll kitten looking at camera
“What do you mean, that’s not really helping?”
Ragdoll kitten rolling on his back while pulling and chewing on the yarn
“Your tension is way off, let me help you…”

Even with Floki’s assistance the boucle yarn proved to be too fine for the space between the holes in the pot. I could have used 3 or 4 threads to bulk it up but it had proved so fiddly trying to hold the warp strips in place while twining the first layer I couldn’t face the prospect of trying to do that with 8 strands in the weft so I had a rummage in my stash and found some chunky grey yarn to use instead.

Same pot but with 5 layers of chunky grey yarn woven between the blue warp uprights

At this point I introduced some of my hand spun yarns, starting with the grey core-spun yarn from September (they are the grey bulges you can see at the top of the woven section) and then a yarn with colourful beehives.

Woven part has doubled in size and now has bulges of yarn at the top in pink, blue and grey

Happy with the height and shape of the weaving, I tied each pair of warp strips to secure the top of the weaving and opened up the paper yarn before trimming the ends.

Ceramic vase base with grey weaving above and topped with strips of blue paper protruding from the top of the yarn

It reminds me of a blue cornflower.

Same vase as above but photographed from the other side

How has your new year started?

EFTPOS and Card Payments at Craft Fairs in New Zealand

This post is really for my fellow makers and artists who are trying to sell their work in New Zealand. I hope you find it useful but if you have any questions please ask in the comments I will do my best to answer, but please remember I am just a felt-maker, not an accountant or any flavour of financial whizz-kid 🙂

Before moving to NZ in 2021 I had a wonderful little card reader from iZettle, the reader cost me £20 ($40NZ) to buy (no monthly rental fee) and they charged 2.5% of each sale to use it (they even included American Express cards at the same rate). When we moved, I brought my trusty little card reader with us but soon discovered it and almost all similar card readers [Square, Paypal etc] are not supported in NZ.

I started looking into what options are available and was horrified to discover the only offering was those hefty card readers with an internal printer that you see in physical / permanent shops. They are not only hefty in size and weight but also price….. $35NZ per month for rental (plus shipping) and an eye-watering 4-6.5% fee for each sale. That might be acceptable if you have a monthly turnover in the thousands, but like most micro businesses, I don’t. The rental alone would be a substantial percentage of my monthly income. I initially wondered if I could just rent one for 2 months to get through the crazy run up to Christmas but no, they either lock you into a contract for at least 12 months or charge eye-watering amounts in the hundreds of $$ for shorter rental terms.

Curiously all the banks offer these readers at an identical monthly fee, a case of price fixing? I will let you decide.

I have spent the last 18 months continuing to search for a practical and cost-effective alternative and like buses, 2 came along at once….

The Portable Card Reader Option

I was overjoyed to discover Stripe have extended their portable card reader offerings to include NZ, as far as I can tell, they are the first international player to do this. At $137 NZ (including delivery) the reader was substantially more expensive that my iZettle reader but compared to the monthly rental on the chunky EFTPOS machines offered by the banks, I would be saving money by the end of my fourth month of trading.

I ordered the Wisepad 3, the smallest and most affordable reader they offer, it accepts PayWave and chip and pin transactions:

Before you can order a card reader you will need to set up an account with Stripe, this is pretty straight-forward but you will need your NZBN number and a screenshot of your NZBN certificate that includes your address.

You will probably notice that Stripe is geared towards software developers and their main market is online sales, that freaked me out a little at the start but I soon found an app for the iPhone (I assume there are similar apps available for Android phones but have not looked into that). If you search the App Store for, “payment for stripe” and look for this symbol you will find the app I have been using:

They will charge 1% on top of Stripe’s 3% fee but it is a very easy app to set up and use, and even allows you to automatically add a percentage to each payment to cover the service fees, mine is set up to automatically add 4%:

Order a Stripe Card Reader

How to set up the Wisepad 3

Taking card payments without a card reader

While trying to find software to work with my new card reader I discovered you don’t actually need a card reader to take card payments!

There are apps available that will allow you to point your phone’s camera at the customer’s card and it processes the information to take the payment. You still need a Stripe account and both Stripe and the app developer will charge you a percentage of each sale but this option avoids the need to purchase a card reader. You just need a smart phone.

PayNow for Stripe was the least expensive I found (0.5% plus Stripe fees) but there may be others with lower fees, please post a comment if you find another app with a better deal. I’m not sure if the Stripe fees will still be 3%, they may be higher if they deem these payments to be “customer not present” but this could still be a viable option if you want to dip your toes in card payment market without the commitment of purchasing a card reader.

I had already received my card reader before I found these apps so didn’t seriously consider using this payment method but I have to wonder how many people would be happy to have a stranger point a phone camera at their credit card and type in the CVV number? I’m not sure I would feel comfortable doing that at a pop-up market.

Credit Cards

How is it going? Any downsides?

I have had my reader for nearly a month now and taken around 10 payments with it. The first payment from Stripe to my bank account took about 10 days but the more recent payments have taken 5-6 days.

A few customers have been disappointed by the 4% surcharge (unfortunately Stripe does not differentiate between credit cards and EFTPOS / debit card sales, I am charged 4% on all card payments) but most people understand that to make card payments free I would have to increase all of my prices to cover the costs and that would not be fair to my customers who are happy to pay with cash or bank transfer.

Please post a comment if you have any questions or suggestions the other artists and crafts-people may find helpful.

Disclaimer: Other than a business account, I have no affiliation with Stripe. I do not receive any commission or payments from them or the apps mentioned above. The options described are my personal experience of trying to find an affordable way to take card payments at markets and fairs, Stripe and the apps mentioned above may not be the best option for you or your business, I strongly recommend you carry out your own research before committing to any of them but I hope this blog post will be a useful starting point.

Prices and links correct as of 28 Nov 2022.