Category Archives: dyeing

Textile Bowl and the Finished Apron

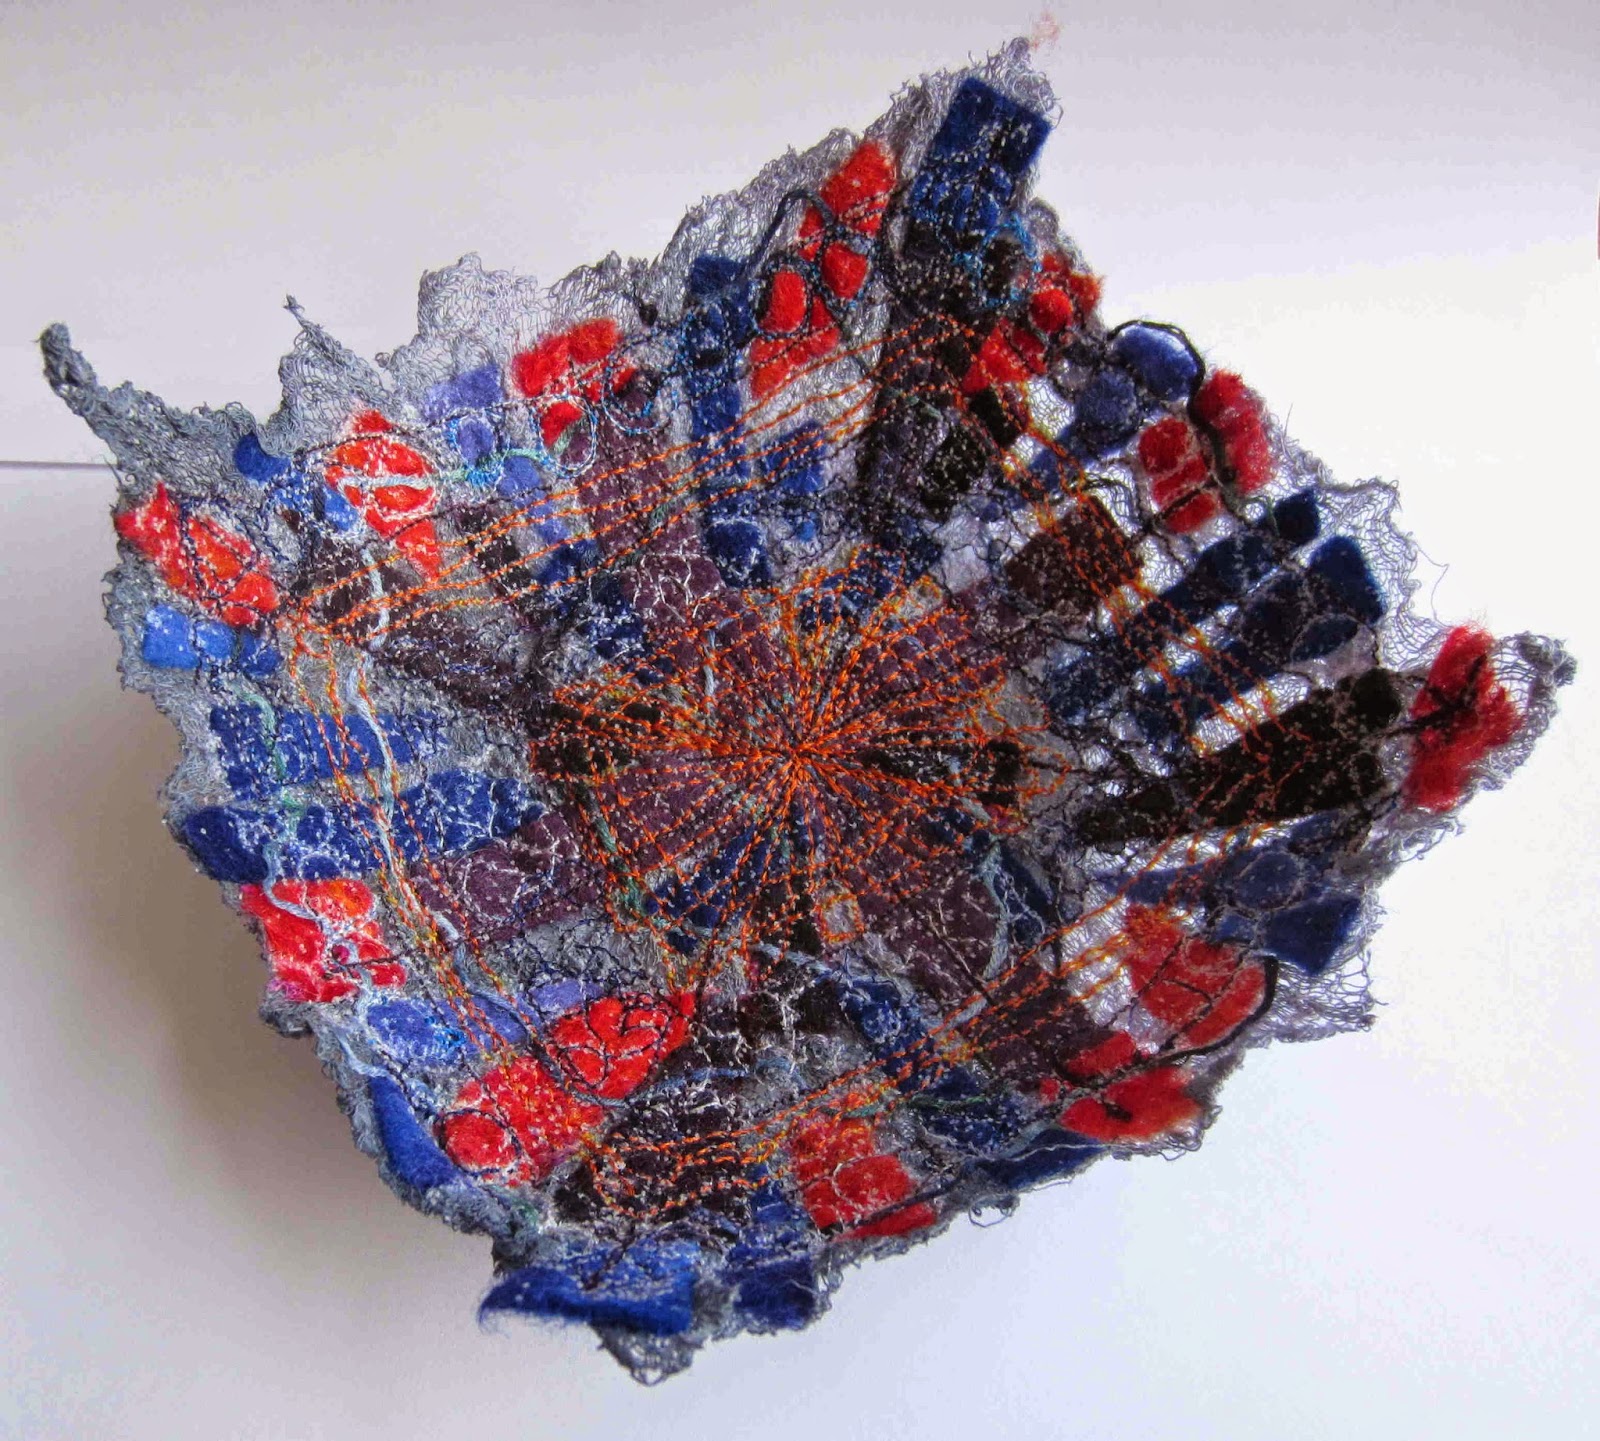
I adapted Ruth Lane’s felt scrap bowl tutorial to include a piece of hand-dyed cotton scrim to make a small textile bowl from felt and fabric scraps. The method involves laying out your fabric scraps on a piece of water-soluble fabric (WSF), creating a sandwich by adding a second piece of WSF, pinning it together and using free-motion embroidery all over it so that all the pieces of fabric are stitched together. Here is my layout (scrim on the botttom, then WSF with felt and fabric scraps – I put another sheet of WSF on top of this):

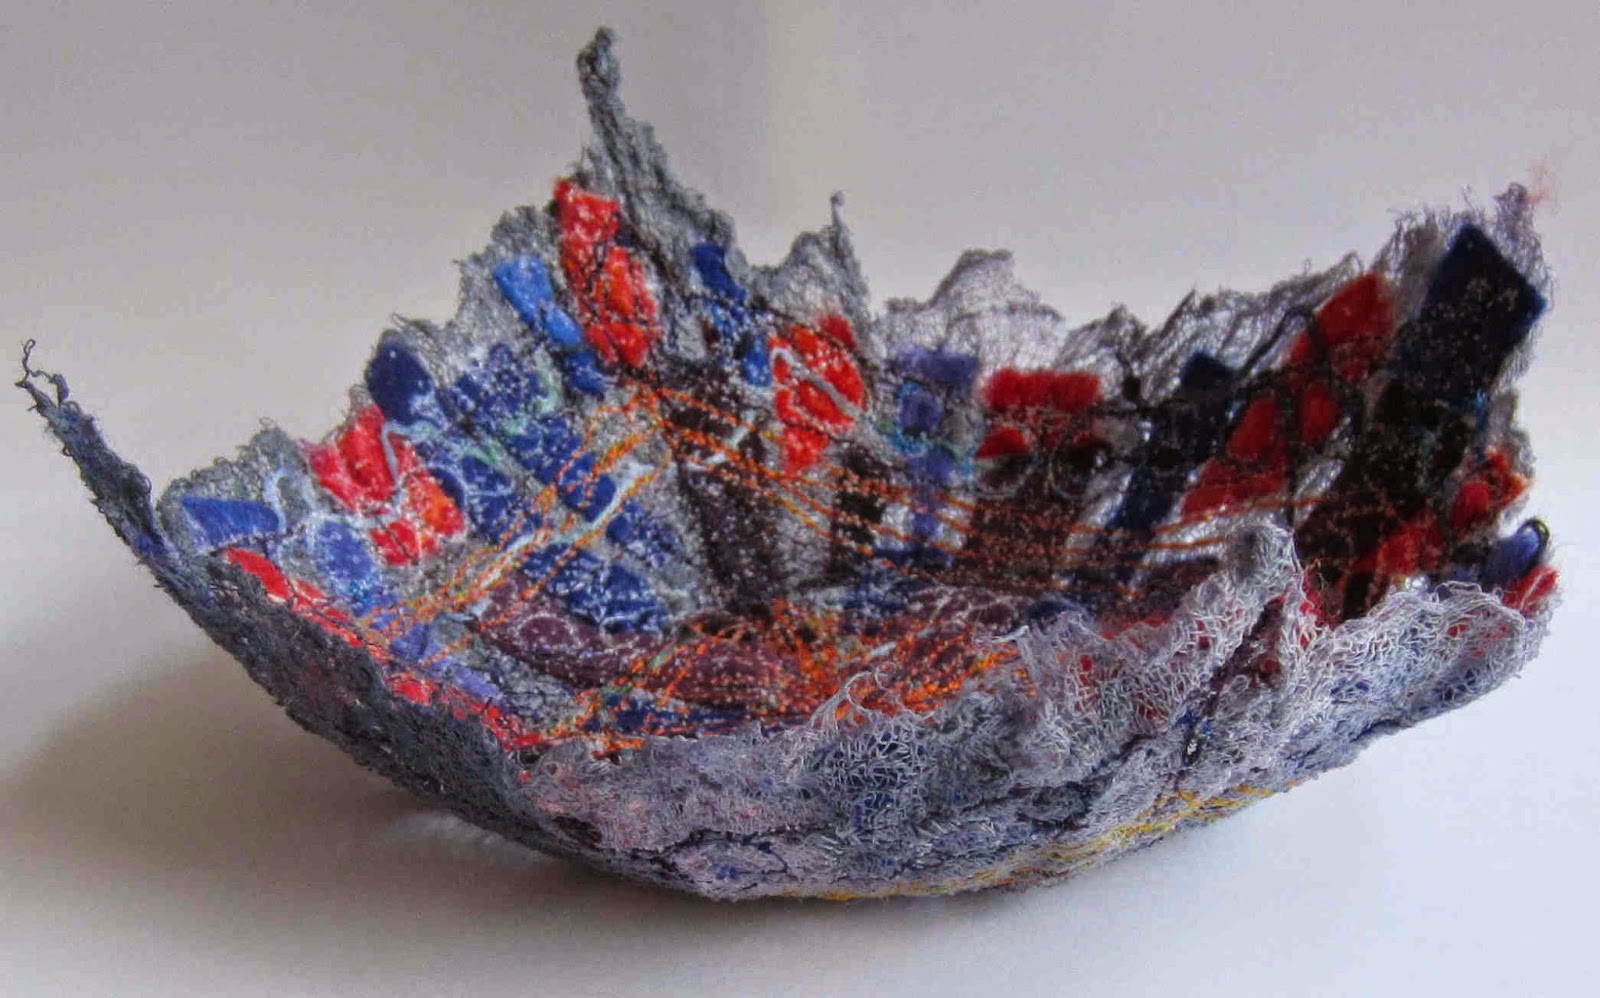
Here is the finished bowl after wetting out the WSF and leaving it to dry over another bowl:

I most like how the scrim has solidified and looks like water splashing up from the surface of a pond.

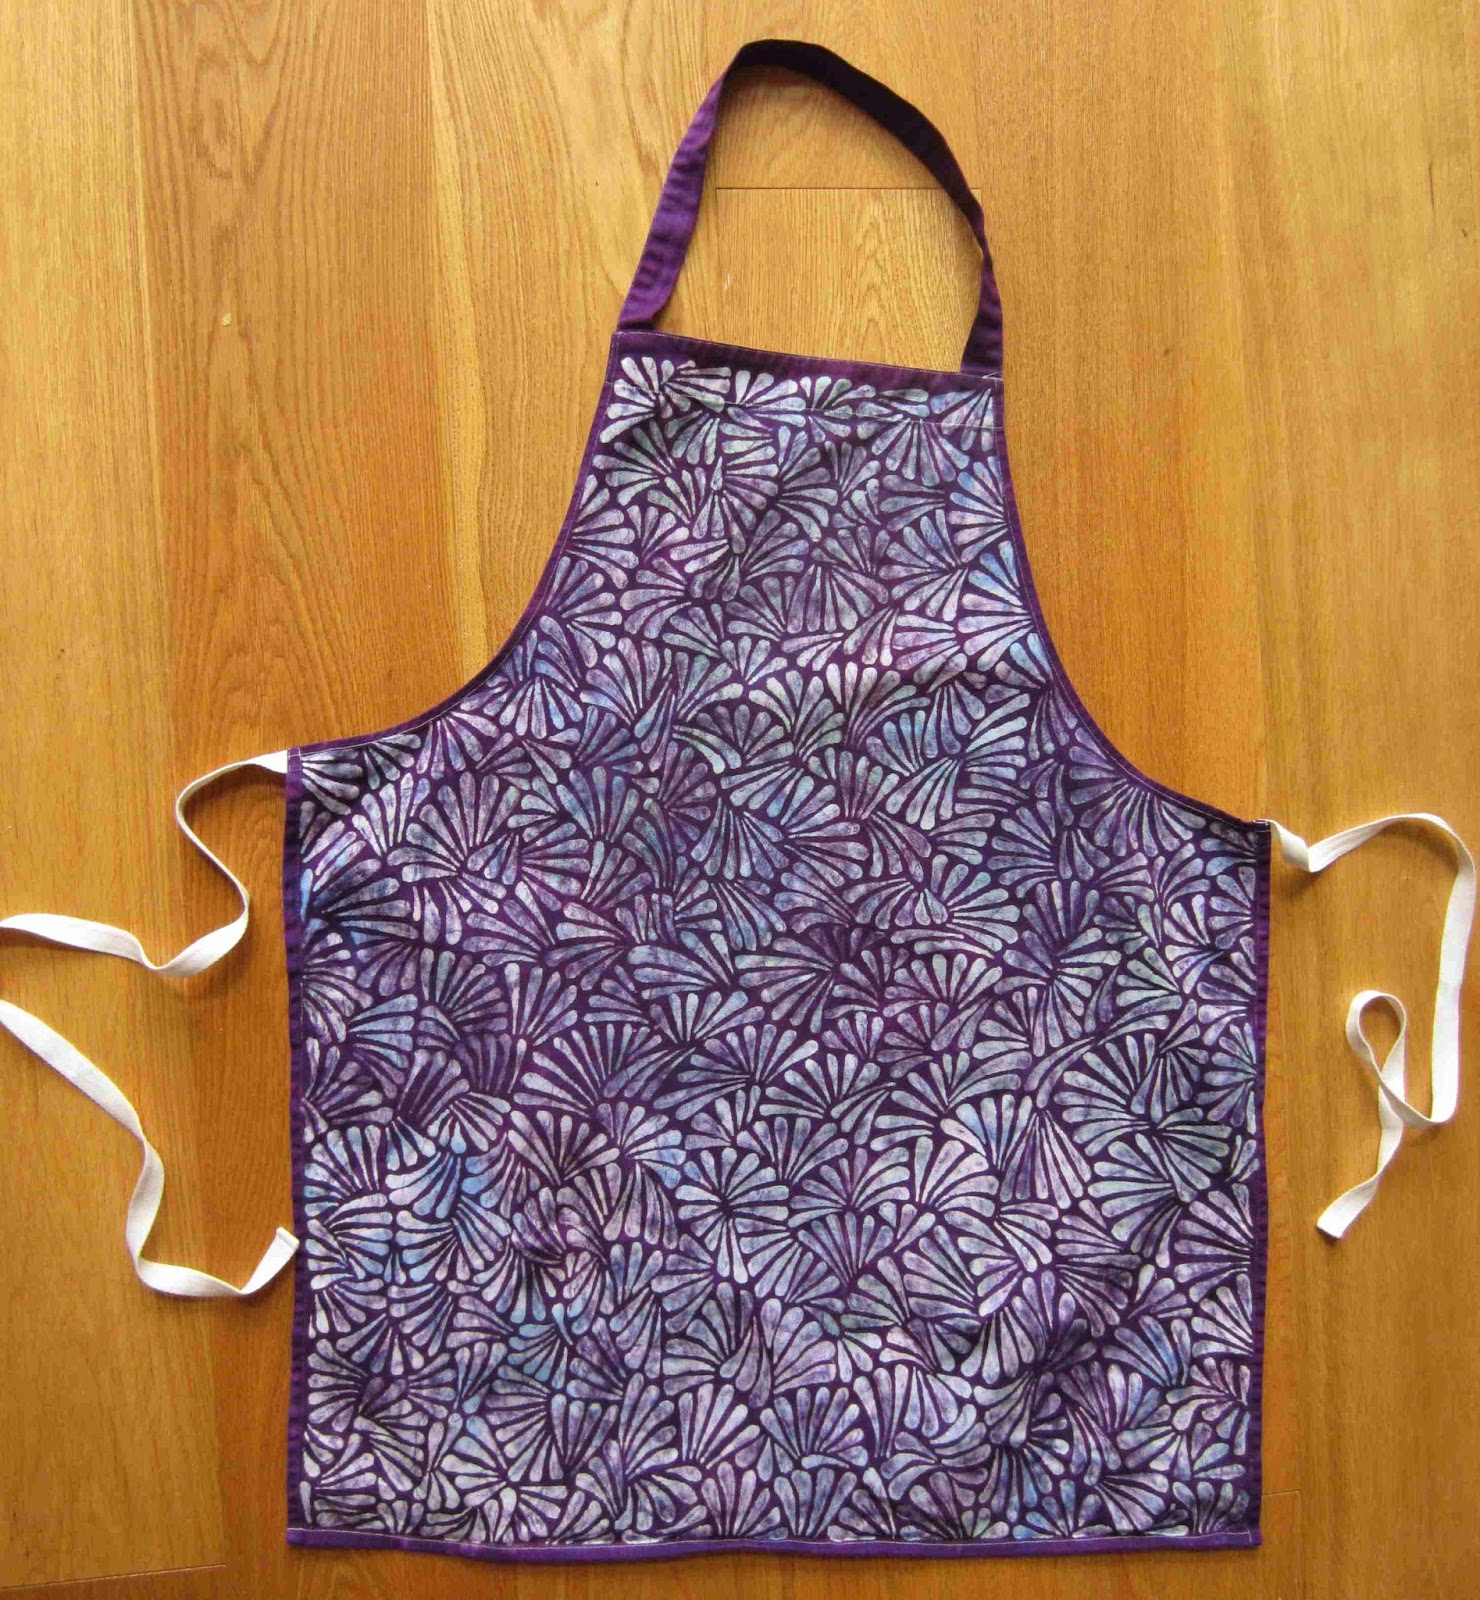
I am really pleased with how the apron turned out, all those hours applying wax were worth it in the end! It’s not very obvious from the photo but there are lots of pale greens and blue still visible from the original rainbow dyeing. The label said it was 100% cotton but clearly the waist straps aren’t. I have sprayed it with clear plasti-drip to water-proof it and hope to find out on Sunday if that has worked…

And a close up:

Linking up to nina-marie, off the wall Friday

Rainbow / Space Dyeing Fabric

I love creating my own dyed fabrics for nuno felting, it is so easy. The results can be amazing and truly individual. If you haven’t tried it yet you really should!

What you will need:

  • Some plant based fabric or silk, my favourites are cotton scrim, cotton muslin and ponge (pronounced “parj”) silk. Don’t bother with synthetic fabrics, the results will be very pale if the dyes take at all.
  • Cold water dyes (I like the Procion MX range) – if you can only afford a limited number I suggest you start with the primary colours (magenta, turquoise and yellow) as almost all other colours can be made from these.
  • Some old buckets or washing up bowls and a measuring jug (please don’t use anything you plan to use for preparing food as the chemicals used in dyeing are toxic and/or carcinogenic).
  • Rubber gloves (I use latex examination gloves but a pair of old marigolds will be just fine).
  • At least 3 small water-tight pots (old chutney / jam (jelly) jars are good) for mixing.
  • Weighing scales that will accurately measure down to 0.5g or less (or you can just use an old teaspoon).
  • Soda ash and some ordinary table salt (both are needed for the fibres to take up and fix the dye).
  • Newspapers / plastic sheets or old towels to protect your work surface from spillages.
  • If you live in a hard water area, dyer’s calgon is a worthwhile investment, it costs pennies and will make your colours more vibrant.

Getting started:

  1. Protect your work area with newspaper / plastic
  2. Make a note of  how much your fabric weighs (while it is still dry)
  3. Most people will recommend you wash your fabrics to remove any residues or chemicals that might impede the dye from penetrating the fibre. I confess I have never done this and never had a problem but if you are working on something important or cannot afford to buy more fabric if it goes wrong, I recommend you wash it. I like to live life on the edge! ;o)
  4. For every 100g of fabric, put 10g of salt, 0.5g of calgon (if using) and 1 litre of warm water in a bucket and mix well.

    Worked example: for 130 g of fabric (I always round up so I would assume 200g fabric) you will need: 20g salt, 1g calgon and 2L of water.

    Push your fabric down into the solution and squeeze the air out of it to help it sink. Let it soak for approx. 1 hour. While your fabric is soaking you can prepare your dyes…

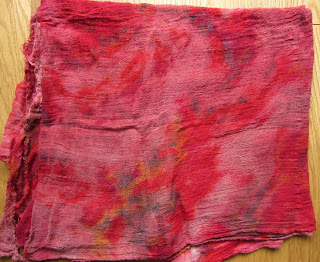
  5. Select your colours, I recommend starting with 3 colours that sit next to each other on the colour wheel for your first attempt, for example, red, purple and blue or blue, green and yellow will work well together, even where the colours overlap. Some lovely effects can be achieved using complementary colours but if you apply too much dye you could just end up with different shades of brown (see left side of photo above)! If you only have primary colours, select 2 and use them to create your third colour, for example 1g of red and 1g of blue will give you purple. A note of caution with yellow, I find I need more yellow than blue or red to get green and orange, typically 2/3 (2g) of yellow to 1/3 (1g) of blue or red works well.
  6. How intense do you want your finished colours to be?
    Pale – use 1g in 50ml (approx. half a tsp)
    Medium – use 2 g in 50ml (approx. 1 level tsp)
    Intense / deep colour – use 3 g in 50ml (approx. 1.5 tsp)
  7. Put your gloves on if you are not already wearing them!
  8. Measure your dye powders into separate jars and add mix with a small amount of water, make up to 50 ml with water from the bucket your fabric is soaking in. Please be careful not to inhale the powdered dyes as they are carcinogenic. Once made up, these dye solutions will keep for several weeks. Three x 50 ml pots will be enough to dye approx 200-300g of fabric completely (without white patches).
  9. Make up your soda ash solution towards the end of the hour (it only remains active for 2-3 hours). For every 100g of dry fabric mix 15g of soda ash in 300ml of warm water.
  10. Squeeze the excess water out of your fabric and arrange in the bottom of a bowl or bucket.
  11. Pour your soda ash solution as evenly as you can over the fabric, making sure you have covered all of it. Turn the fabric over and kneed it to make sure all of it has been soaked in the soda ash solution.
  12. Drain the excess soda ash water from your fabric (don’t squeeze the fabric, you want it to remain very wet). Arrange your fabric in the bottom of the bowl, if you fold it you are likely to get mirror image effects in the different layers. I like the randomness of loosely arranging the fabric without folds.
  13. Now you are ready to add your colours! I like to use disposable 3 ml pipettes but you can also carefully pour straight from your jars. The colours will spread through the wet fabric, so go gently at first until you have a feel for how far they spread for each type of fabric. There are 3 methods if you want to completely cover your fabric with colour (not white areas left):
    a) with a gloved hand, push down on the dyed fabric to try to squeeze the dye into the white areas. This approach will give a variety of pale and more intense areas of colour.
    b) turn your fabric over in the bowl and sprinkle more of your dye solutions on the larger white areas. This will give predominantly intense colours.
    c) after applying your dyes, pour small amounts of the soda ash solutions onto the coloured areas, this will help the dye to spread to the white areas. This will tend give paler and more blended colours.
  14. Leave you fabric for 1 hour before rinsing it in warm water until the water runs clear.
    TOP TIP: if you have any scraps of fabric that you would like to dye a paler colour, put them in your dye bowl now and using a jug, top up with water from your soaking bucket (the one with salt and calgon in it), for every litre of water you added, add another 30g of soda ash and mix well, leave it for an hour, stirring occasionally, before rinsing and washing.
  15. I then wash my fabrics in the washing machine on the hottest cycle the fabric will tolerate. I find red, purple and orange dyed fabrics are particularly bad for “bleeding” their colour if I don’t include this machine wash step.
  16. Leave your fabrics to dry and admire all the beautiful colours and patterns :o)
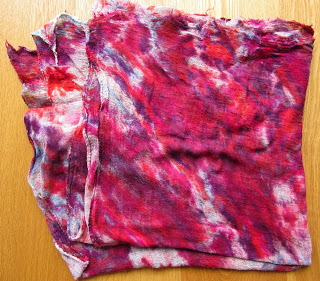
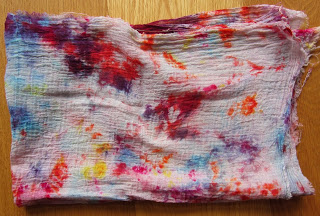
This is an example of a predominantly undyed piece with just a few splashes of colour.
    Please leave a comment if any of the instructions are unclear or you have questions or suggestions.