Category Archives: surface design

Experimental Screen Printing Week 3

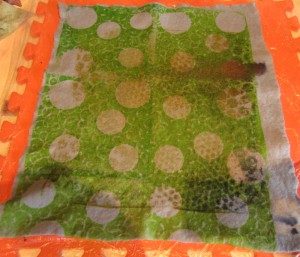
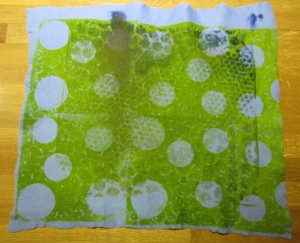
This week’s class has been more focused on resists. While last week was more about applying colour in a pattern to the screen and then printing through it so you get both colour from the pattern and the space around it, today has been more about positive and negative spaces, and when used with the deconstructed printing techniques, or previously printed fabrics, it opens up a whole new raft of possibilities…

This is the first technique:

IMG_6011

IMG_6012

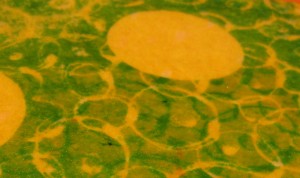
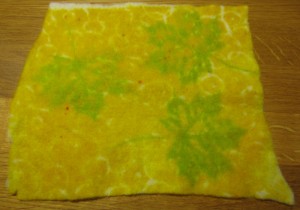
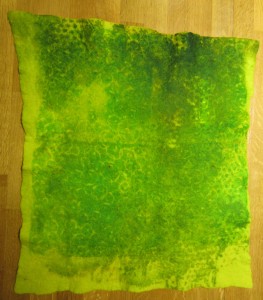
After fixing, much of the green colour washed out yielding a lower contrast between the green and yellow, this has potential as a background for more screen printing :):IMG_6046
IMG_6047

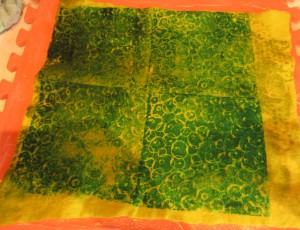
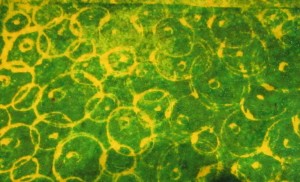
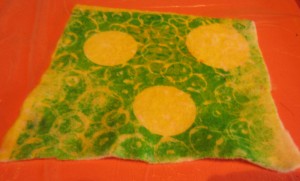
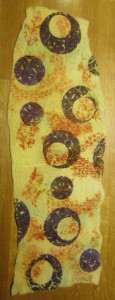
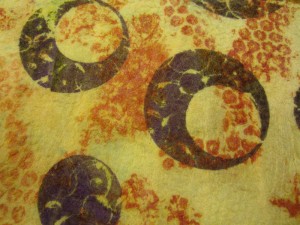
Combining technique #1 with some circular resists:

IMG_6014

IMG_6016

IMG_6015

IMG_6020

After fixing:

IMG_6042

IMG_6044

IMG_6045

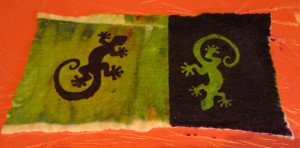
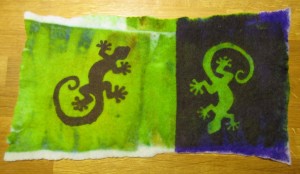
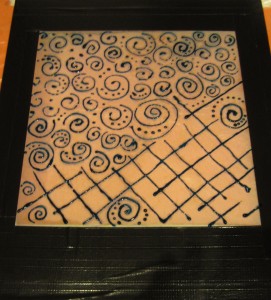
Technique #3 involved making our own stencils, this was quite a neat process and one I can see myself doing again (it is a lot cheaper than buying thermofax screens that’s for sure):

IMG_6017

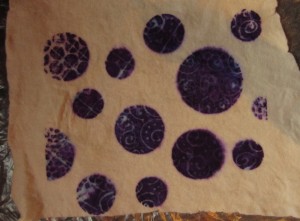
After fixing I was pleased to see the purple didn’t completely overpower the base print on the right hand side, if you look closely you can see different shades of blue / violet around the edge:

IMG_6043

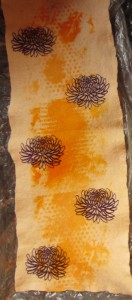
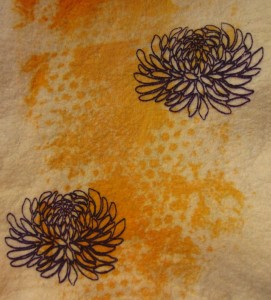
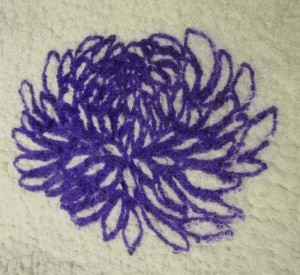
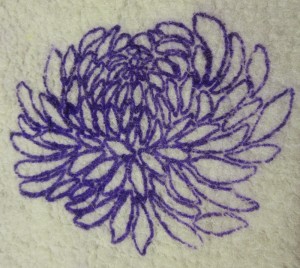
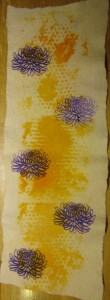
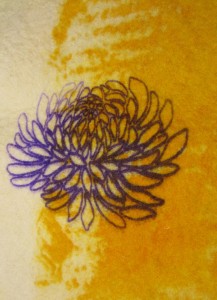
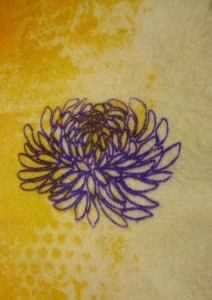
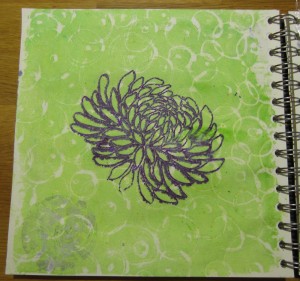
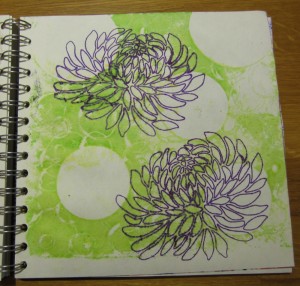
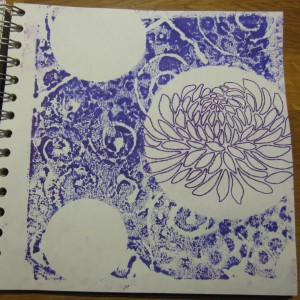
I was a little bit naughty and bought a couple of thermofax screens, the leaf is alright but I am most impressed with the chrysanthemum flower (in fact I got a little carried away with it). It is a little bit prone to “ghosting” though, so you need to keep cleaning it between prints but I like it so much I am now debating on using this on the dress I am currently making from nuno felt.

IMG_6013

IMG_6018

IMG_6019

After fixing, the green colour faded significantly again but the violet is just as vibrant as when it was first screened:

IMG_6056

IMG_6057

IMG_6049

This is a print with “ghosting”:

IMG_6050

IMG_6051

IMG_6052

IMG_6054

IMG_6053

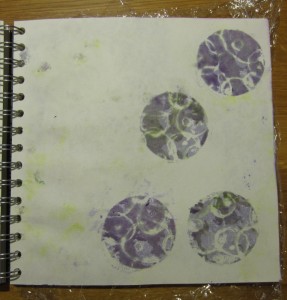
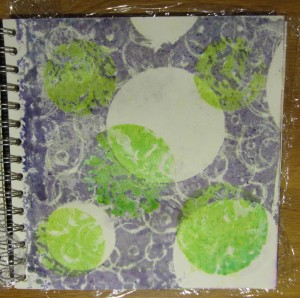
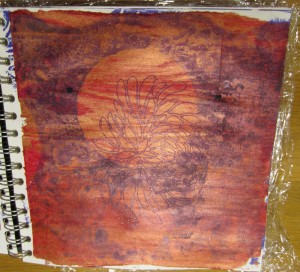
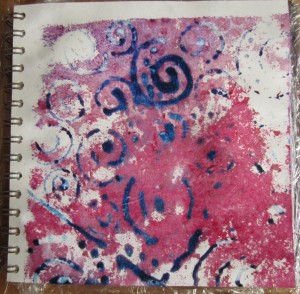
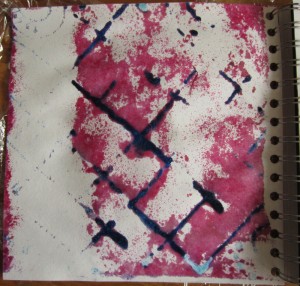
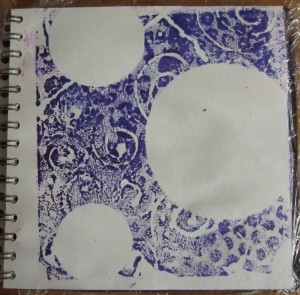
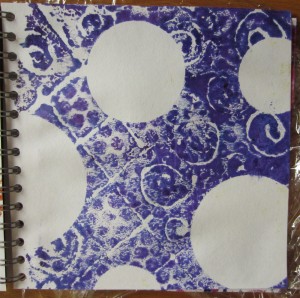
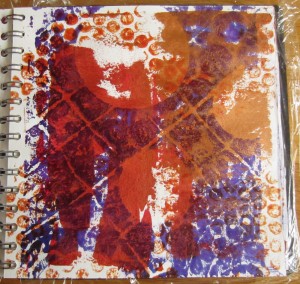
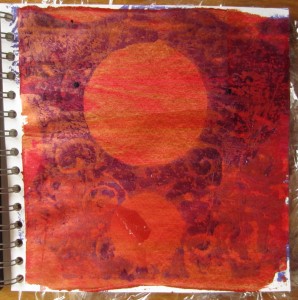
Again, the sketchbook was perfect for mono-printing the remaining print paste from the screens at the end of each print run.

IMG_6026

IMG_6025

IMG_6024

IMG_6023

IMG_6022

IMG_6021

For those of you reading by email, this is the link to the web page: blog post

De-constructed Screen Printing Part 3

This is week 3 of Ruth Lane’s Experimental Screen Printing class but before starting on the new methods, I still had a deconstructed screen that I made last week to use. I’m not sure if it was applying the print paste to the flat side of the screen or leaving it to dry for a week but it lasted much longer than the others.

IMG_5944

I used a double resist for these first few prints (I couldn’t “resist” 😉 using at least one of this week’s techniques!), firstly on wet prefelt, I clearly didn’t do a very good job of cleaning this screen as you can still see the bubble wrap print in the top left circle:

IMG_5987

After fixing, even though I let the print paste dry first, the colours still bled:

IMG_6038

IMG_6039

The same screen on dry prefelt:

IMG_5988

IMG_5989

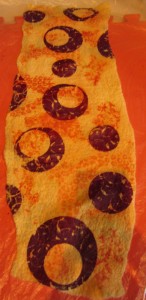
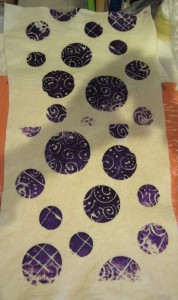
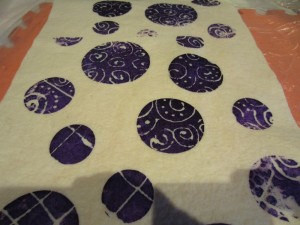
After fixing, I really like this piece although I am contemplating cutting out the discs to use in a project. I don’t want to print / dye over it as I like the patterns as they are:

IMG_6029

You can still see the bubble wrap sneaking through:

IMG_6030

IMG_6031

More conventional screening onto dry prefelt:

IMG_5990

IMG_5991

The same piece after fixing:

IMG_6032

IMG_6033

IMG_6034

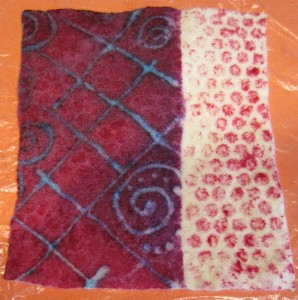
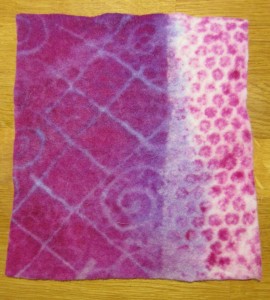
This time, screening onto wet felt, I love how the wet felt and released the blue pigment. The right hand side was some mono-printing with bubble wrap:

IMG_5995

After fixing, although this is the smallest piece by a long way (only 15 x 20 cm) it is my favourite out of this batch. This might just be a coincidence but using wet felt vs wet prefelt seems to make the colours bleed less:

IMG_6028

Then I really started to work the screen quite hard to try to get the blue lines to come though, I ended up pouring some water over the middle section, I think you can see the wool is slightly darker and it was a very effective way of releasing the blue colour, so much so that it almost appears black in places.

IMG_5996

IMG_5997

After fixing:

IMG_6041

Repeating the same process to release the remaining blue colour around the edges of the screen:

IMG_5998

IMG_5999

After fixing:

IMG_6036

IMG_6037

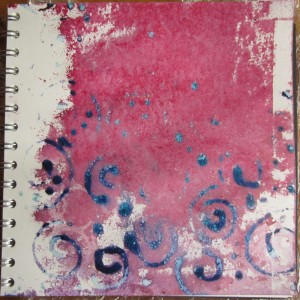
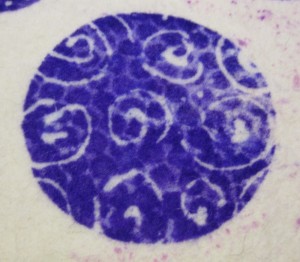
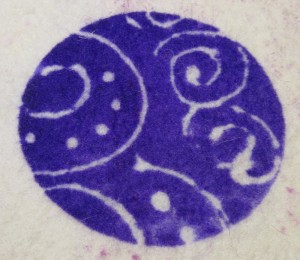
Finally, on Ruth’s recommendation, I used my sketchbook to mop up any remaining print paste at the end of each print run, I’m not sure how I will use these, (most of my sketchbooks read like a technical manual of hare-brained felt oddities, I rarely ever paint or draw in them for pleasure) but I think most of them are attractive already:
IMG_6001

IMG_6002

IMG_6003

IMG_6004

IMG_6005

IMG_6006

IMG_6007

For those of you reading by email, this is the link to the web page: blog post